Virto SharePoint Calendar enables the use of Microsoft Exchange calendar as a data source and allows you to overlay the Virto Calendar with user or group Exchange calendars, as well as Exchange shared calendars. You can overlay the Virto Calendar with Exchange 2013, 2016, and Online.
Go to the Virto Calendar settings and expand the “Data Source settings” block. Then use the “Create new source” button to add a new data source to your calendar.
Now you need to fill out all required fields. Enter the source name and select “Exchange Calendar” as the data source type.
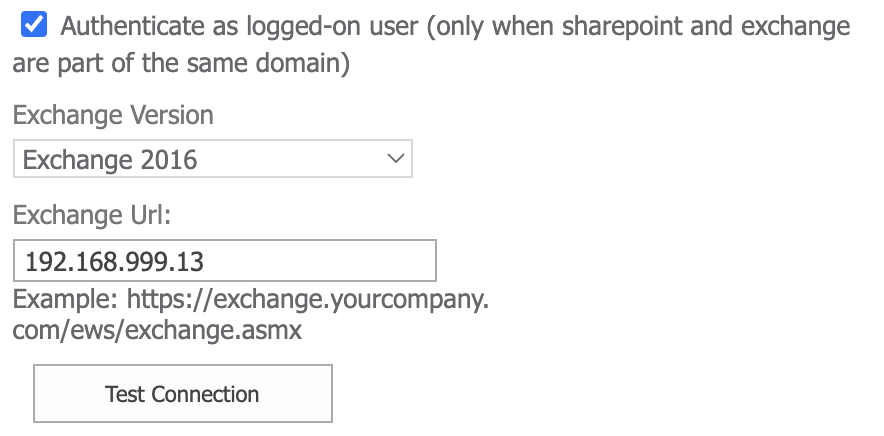
If Microsoft Exchange is on the same domain as the SharePoint site, you can enable authentication. In this case, when a user goes to a page with the Virto SharePoint Calendar, they will see the items from their Exchange calendar. Check the box “Authenticate as logged-on user.”
Select the required Exchange version and the URL of the installed Exchange Server (see the example). Click “Test Connection” to verify the information in the fields.
If the Microsoft Exchange Server is installed on another domain, you should enter the login and password (which can be the login and password of a user whose Exchange calendar you need to display) to connect to the Exchange Server. Click “Test Connection” to verify the settings.
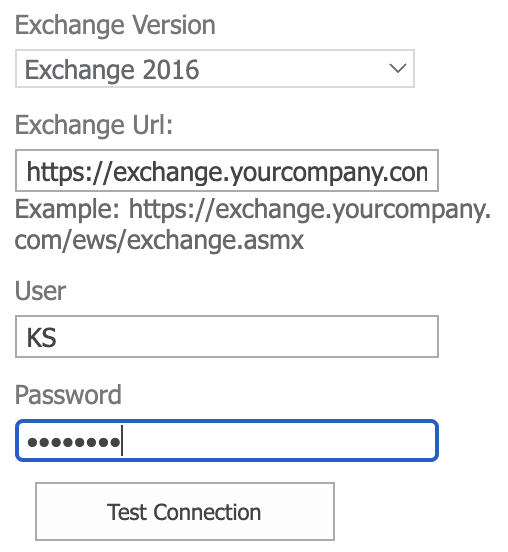
Now, when a user goes to a page with the Virto Calendar on their SharePoint site, they will see the items from the Exchange calendar of the user whose login and password were entered in the settings block.
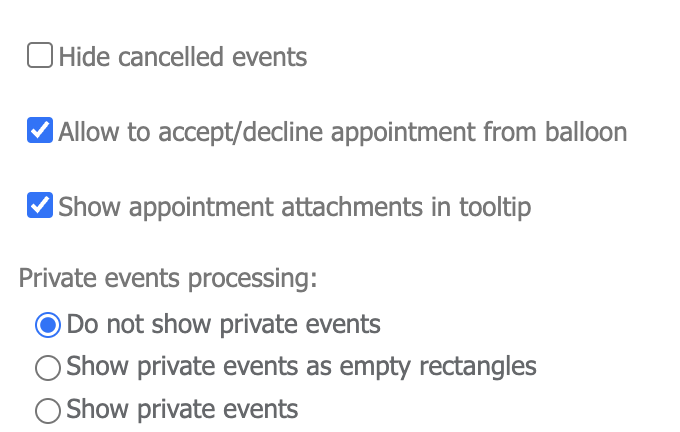
The “Allow to accept/decline appointment from balloon” feature allows you to manage an Exchange appointment from your SharePoint calendar. You can apply or cancel the appointment from the tooltip, and all changes will be applied to Exchange as well.
The “Show appointment attachments in tooltip” option allows you to display any attached files on the calendar’s event tooltip. Select a color for items from the Exchange Server or use an RGB code to define the required one. Specify Tooltip and Advanced options as described in previous sections, and click “Save” to add a new data source.
If an Exchange data source has the “Read Only” checkbox, the balloon will contain the same “Yes,” “Maybe,”and “No” buttons (but users will not be able to edit or delete the event).
Color-coding for Exchange categories in Virto Calendar
Virto Calendar allows you to color-code Exchange calendar events according to their categories from Exchange.
This feature is available for the Virto calendars for SharePoint 2010, 2013, and 2016.
For example, if you need to add the category named “Blue Category” to the Virto Calendar, open “Advanced Settings”of the Exchange data source, select the “Category” field, and click “Add New Field Value and Color.”
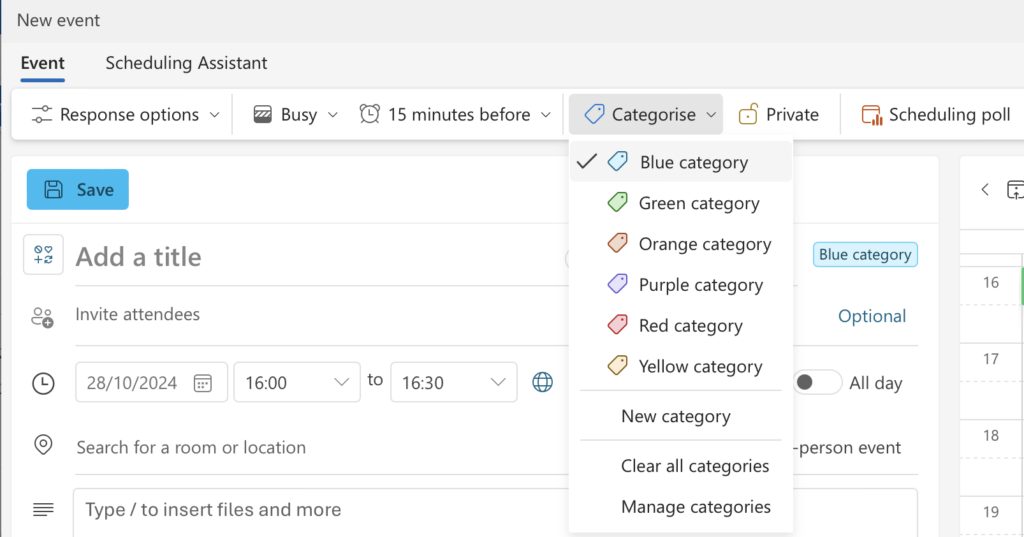
Then, type the name of the required category from Exchange (the names must be identical).
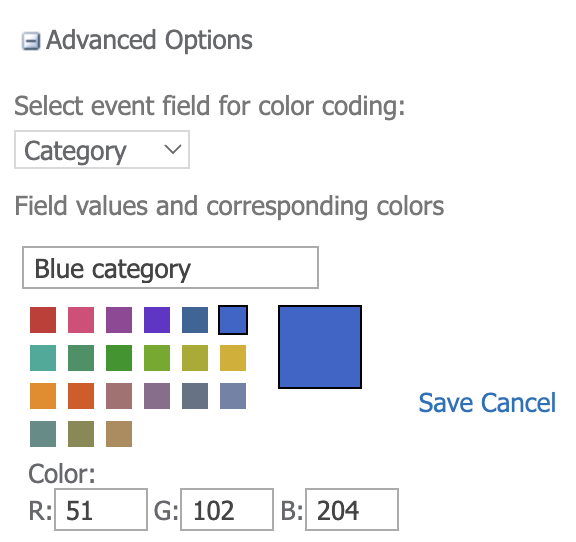
Select a color for this category; it may match exactly the color from Exchange.
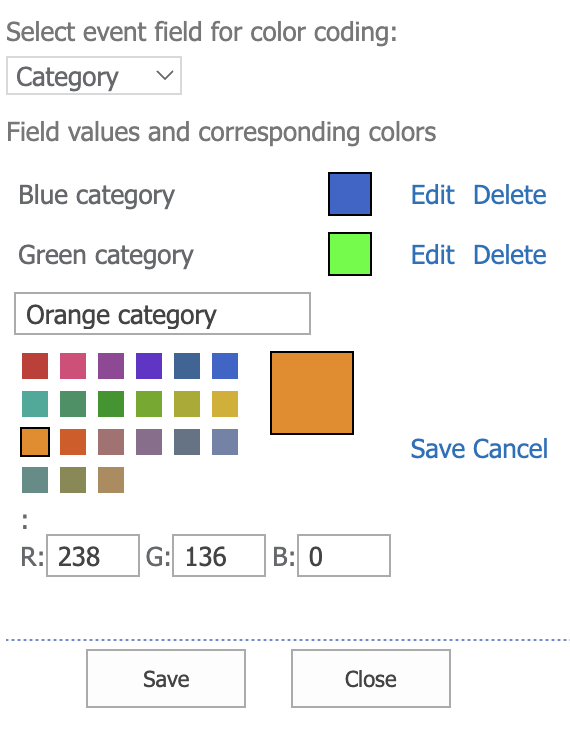
You can add other categories with custom colors in the same way.
Exchange appointments in Virto Calendar
Virto Calendar allows users to accept or decline Exchange appointments that request a response to the invitation.
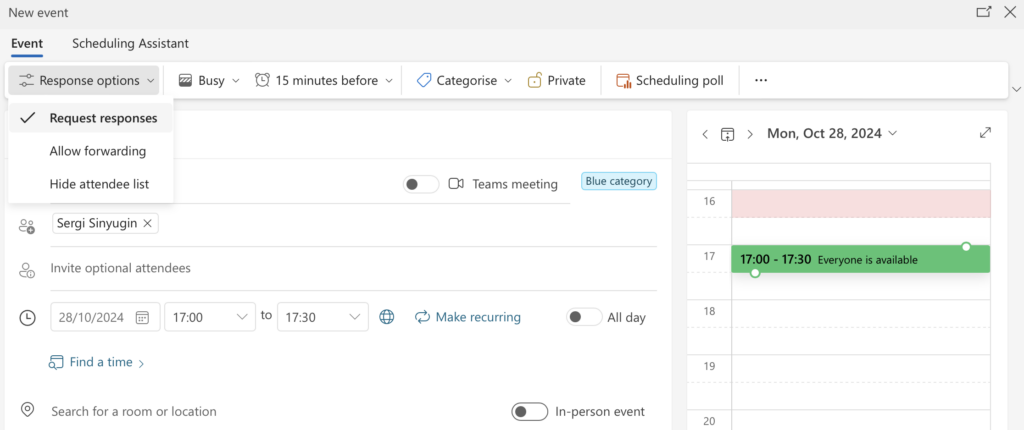
When an administrator creates an appointment in Exchange and assigns it to a user, they can check the box “Request responses.” In this case, the assigned user will receive an email with the invitation that they will have to accept or decline.
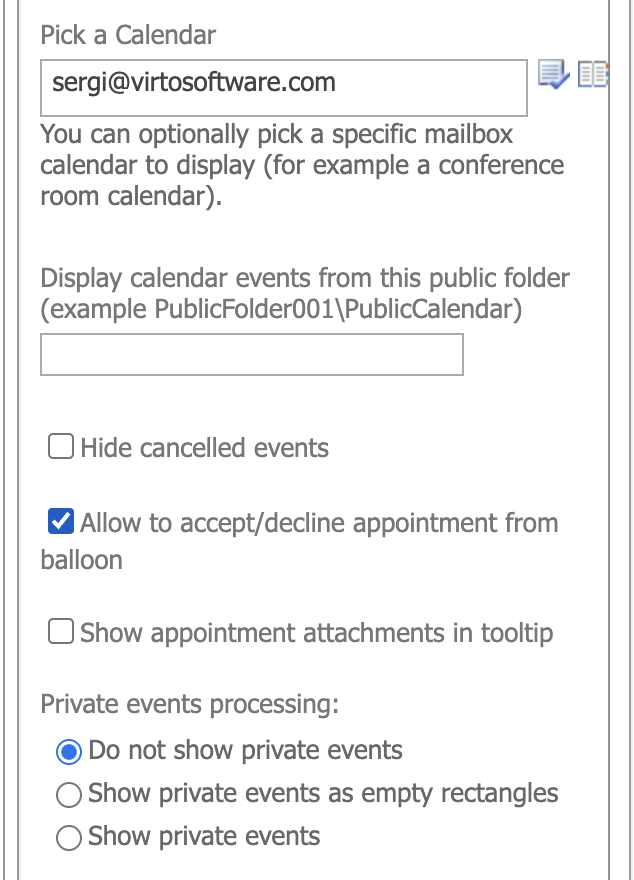
To make this feature work in the Virto Calendar, you need to take several actions: click “Edit” icon next to your Exchange calendar. Then scroll down and check the box “Allow to accept/decline appointment from balloon.” Click “Save” to save the settings, and then click “OK” or “Apply.”
Now, when a user clicks the event from Exchange in the Virto Calendar, they will see the balloon with “Accept,” “Maybe,” and “No” buttons. If a user accepts the appointment, the “Accepted” line will appear in the balloon.
It is recommended to use the “Allow Accept/Decline Appointment from Balloon” option together with the “Authenticate as Logged-on User” checkbox. In this case, users will see their Exchange events in the Virto Calendar and will be able to accept or decline them.
Private events in Microsoft Exchange
In some cases, users may need to show or hide private events from an Exchange Calendar. The “Private” checkbox can be checked in the details of private events.

You can adjust how to show private events from the Exchange data source in the Virto Calendar. Click “Edit” opposite the Exchange calendar data source and scroll down to the “Private events processing” block.

There are three options for showing private events:
- “Do not show private events” (private events will be hidden in the Virto Calendar)
- “Show private events as empty rectangles” (private events will be shown as rectangles; no details except “Organizer” will be shown in the tooltip)
- “Show private events” (private events will be shown with details)
Select the required option and click “Save” to save the new data source settings.