Alerts and Reminders by Virto App administration
Once you have added the Virto Alerts & Reminder App to your SharePoint site, you can adjust it and start working.
My alerts
The “My alerts” tab contains the alerts you own. By default, if you create an alert, you become the owner and have permission to disable, edit, or delete this alert.
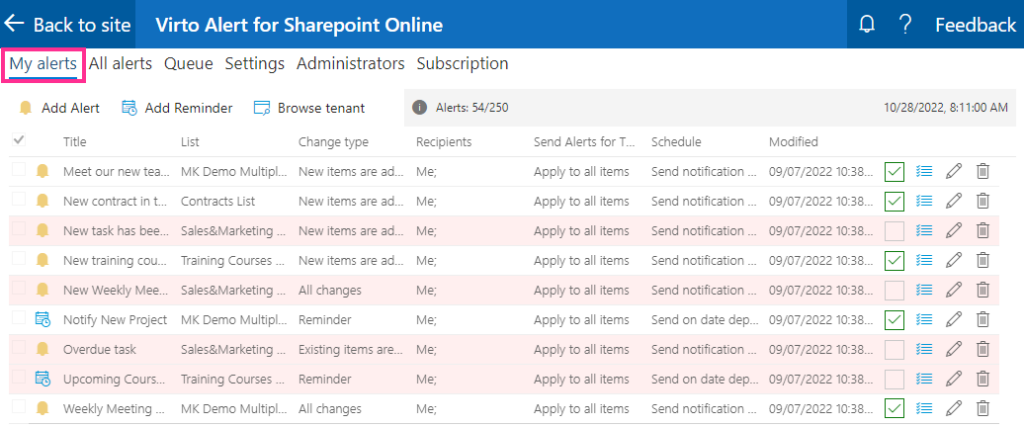
To disable an alert, untick the green checkbox. Disabled alerts are highlighted in pink.

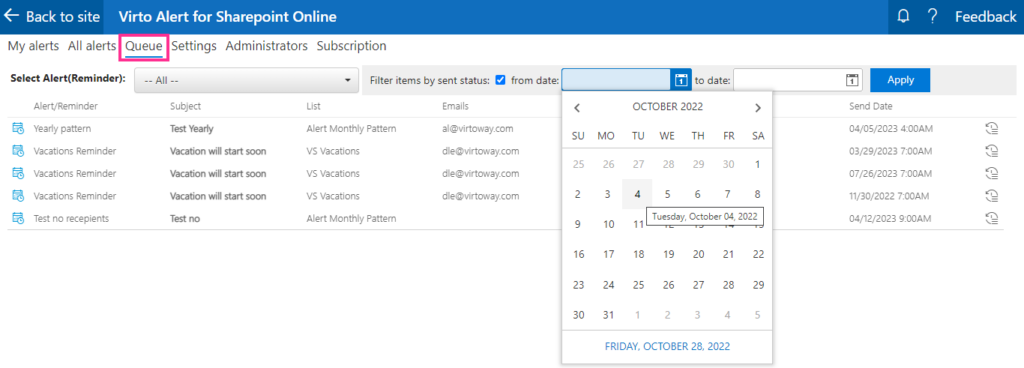
The queue icon will take you to the “Queue” tab, where you can view when the chosen alert or reminder was or will be sent according to the schedule.

In the following example, we specify the start and end date to see when this alert was sent during the chosen time frame.

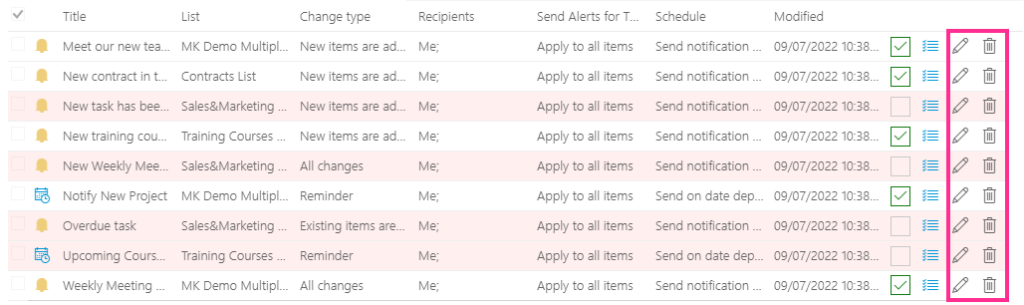
Click the respective icons next to an alert to edit or delete it.
All alerts
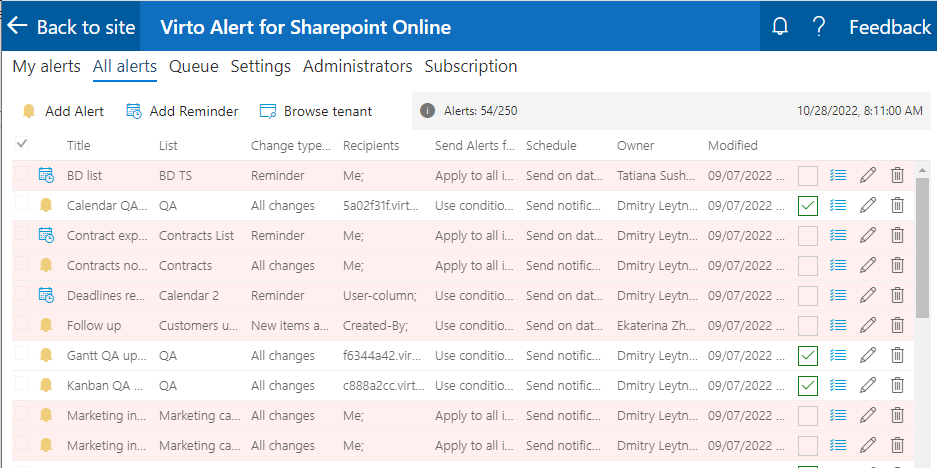
The “All alerts” tab contains other users’ alerts and reminders available to you. ("All alerts" is available if you are the owner, belong to a chosen group of recipients, or are an added recipient; you are a tenant admin.)
Queue
The “Queue” tab tracks alerts and reminders sent during a specified period.
Settings
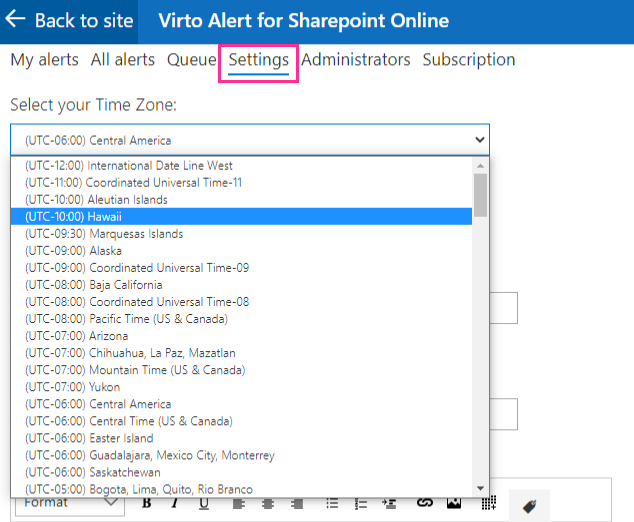
In the “Settings” tab, you can apply general preferences for all alerts and reminders. First, choose the time zone from the list.
Specify the email and title for the “From” and “Reply to” fields.
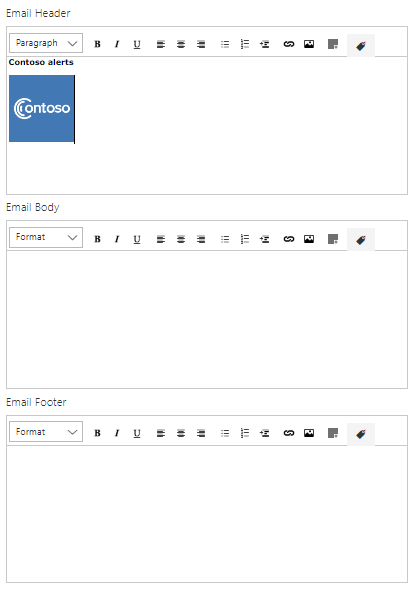
You can adjust the default header, footer, and message body for your alerts and notifications. If no settings are specified for a new alert or reminder, the default settings will be applied.
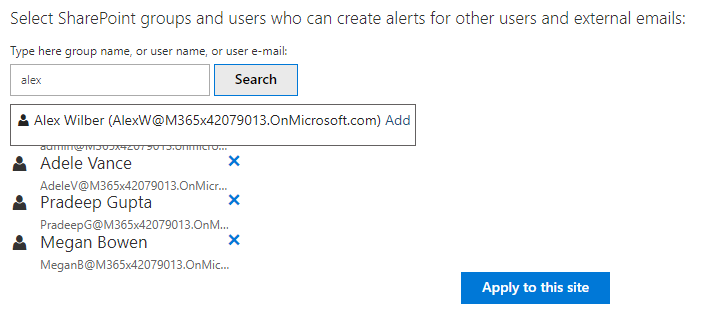
Finally, choose the groups or users with permission to create alerts for other users and external emails. Start typing a user’s name and click “Add” next to the relevant user in the list.
To apply all the preferences for the current SharePoint site, click “Apply to this site.”
Applying the settings described above within the “Settings” tab will define the default settings for alerts or reminders. However, you can change these settings for each alert or reminder as needed.
Administrators
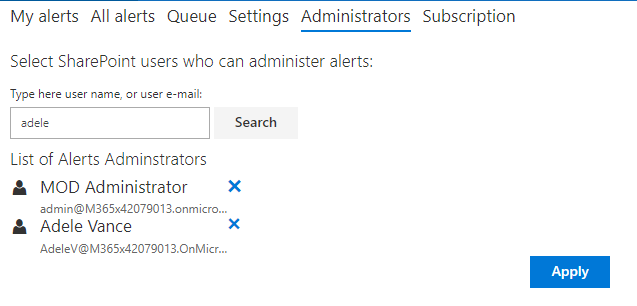
Assign administrators in the “Administrators” tab and click “Apply” to confirm.
Subscription
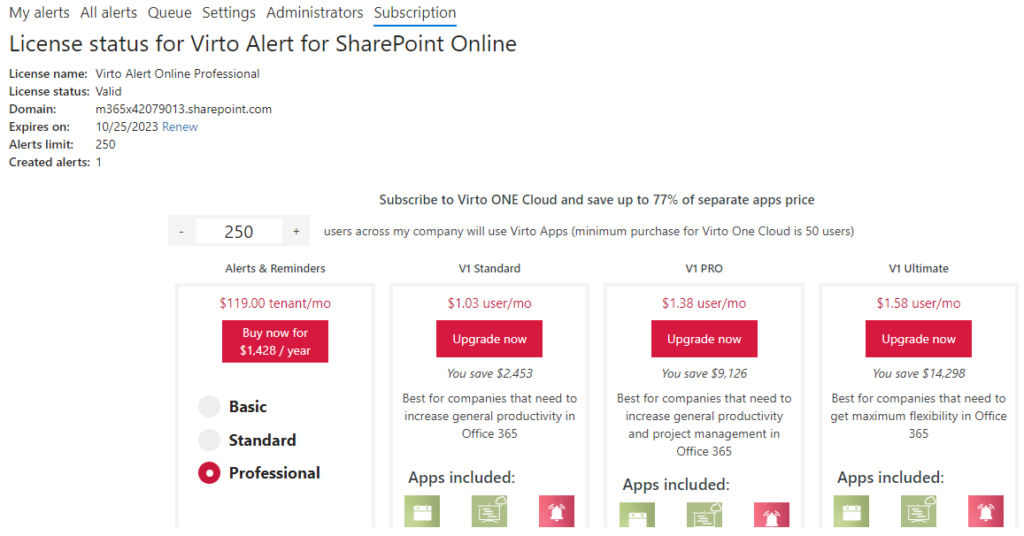
The “Subscription” tab contains information about your plan. Here, you can check the status of your plan and renew your subscription. If you use a trial version, you can purchase the full version from this tab.