Installing Virto Workflow Automation Web Part
Before you begin, make sure you have access to the SharePoint server and that your account has the administrative privileges required to install applications.
Virto Workflow Automation—combining Virto SharePoint Workflow Activities, Virto Workflow Status Monitor, and Virto Workflow Scheduler—can be downloaded as a single package from [link].
Unzip the downloaded file (for example, VirtoSharePoint.SE.WorkflowAutomation.6.1.5.1.zip).
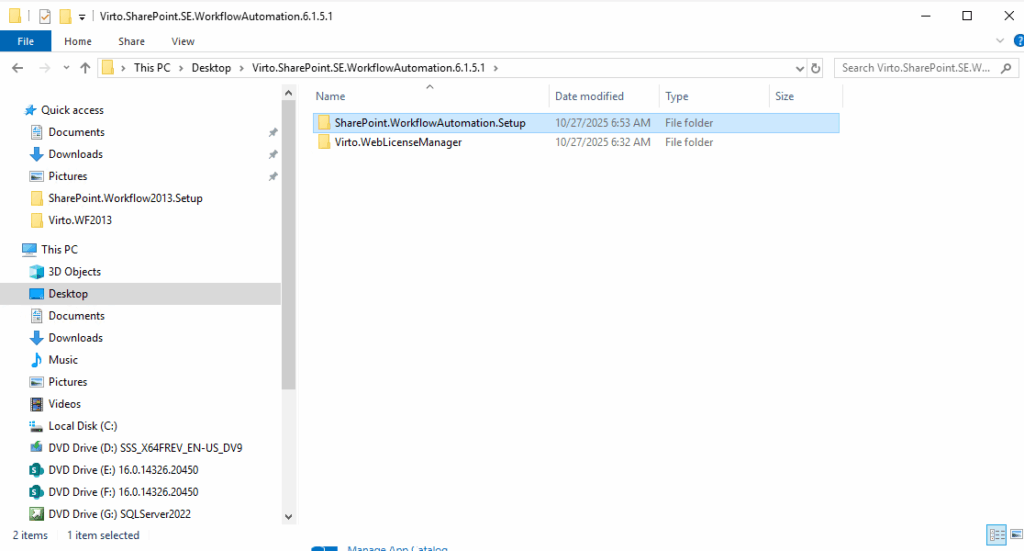
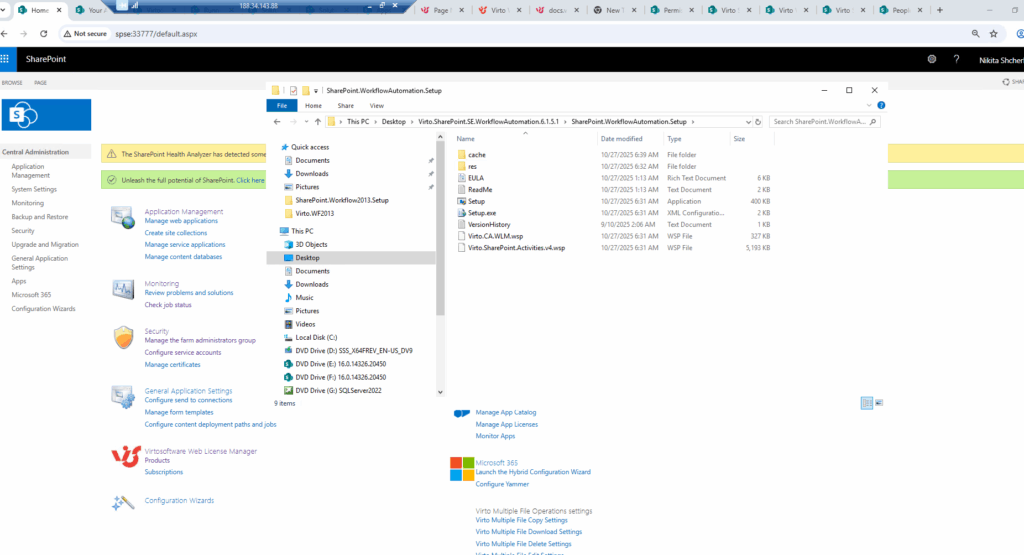
It contains two folders—one for License Manager and one for Workflow Automation. Open the Workflow Automation folder and run Setup.exe.
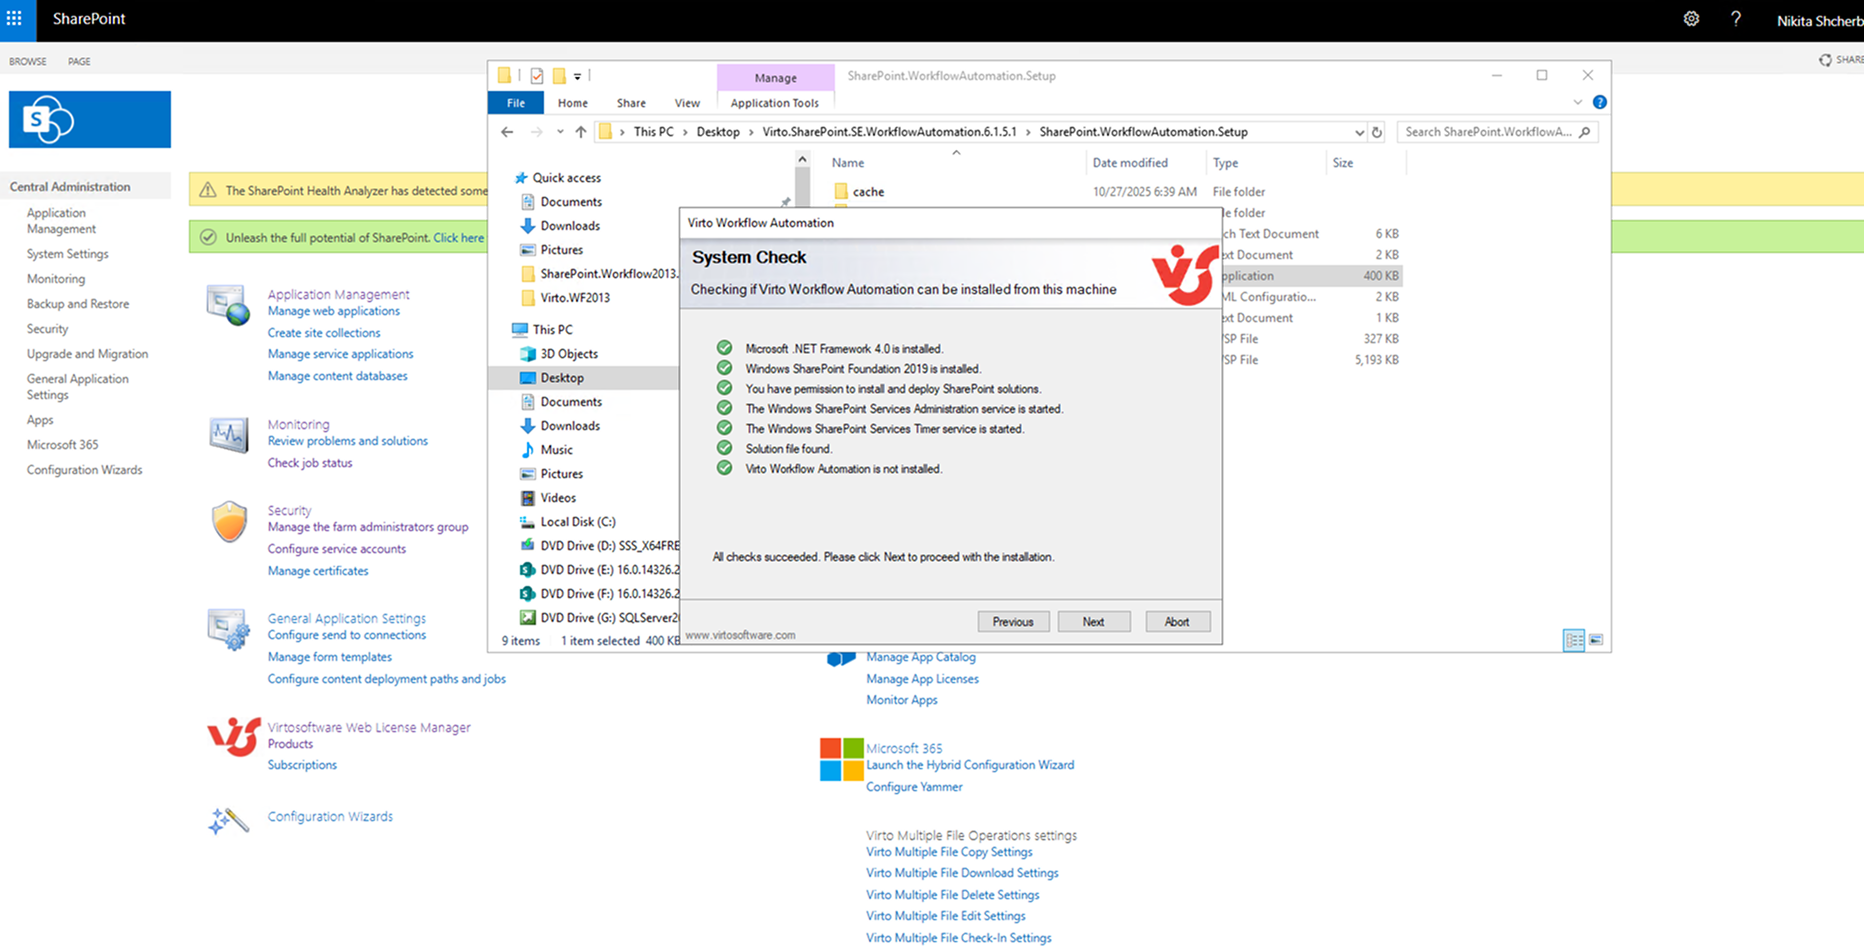
The setup wizard will open.
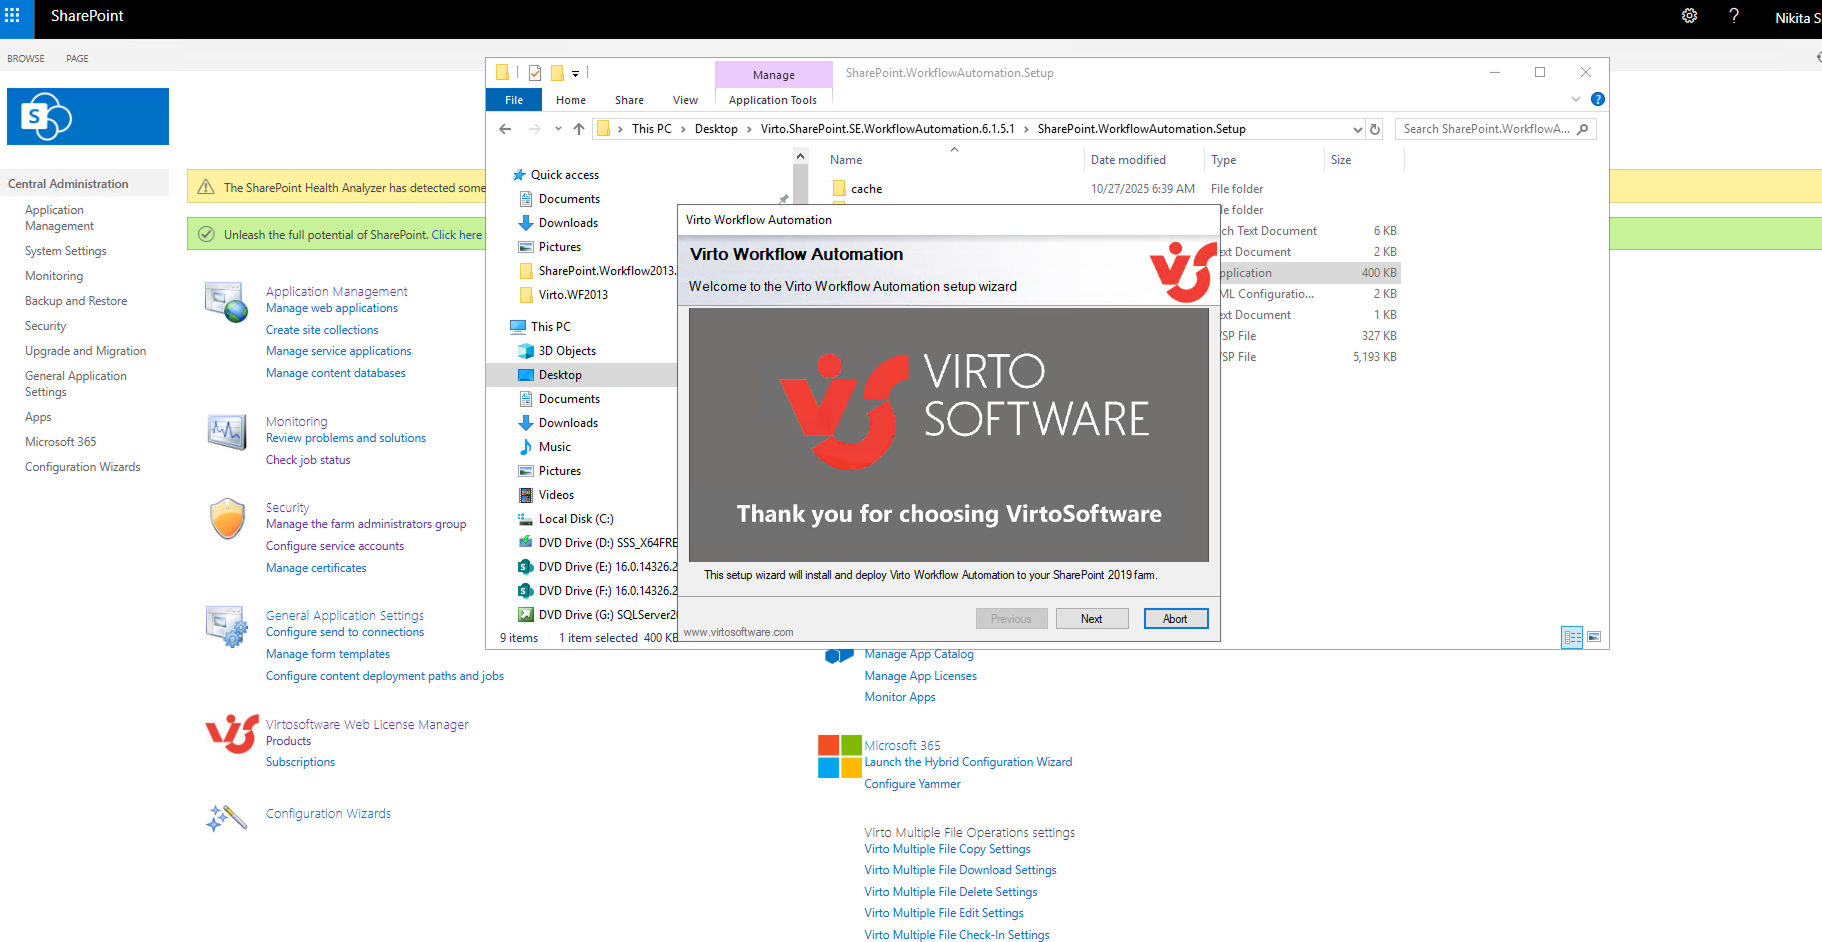
The Virto Workflow Automation setup wizard runs a pre-installation system check. All checks must pass before you can continue. When the checks finish, click “Next”.
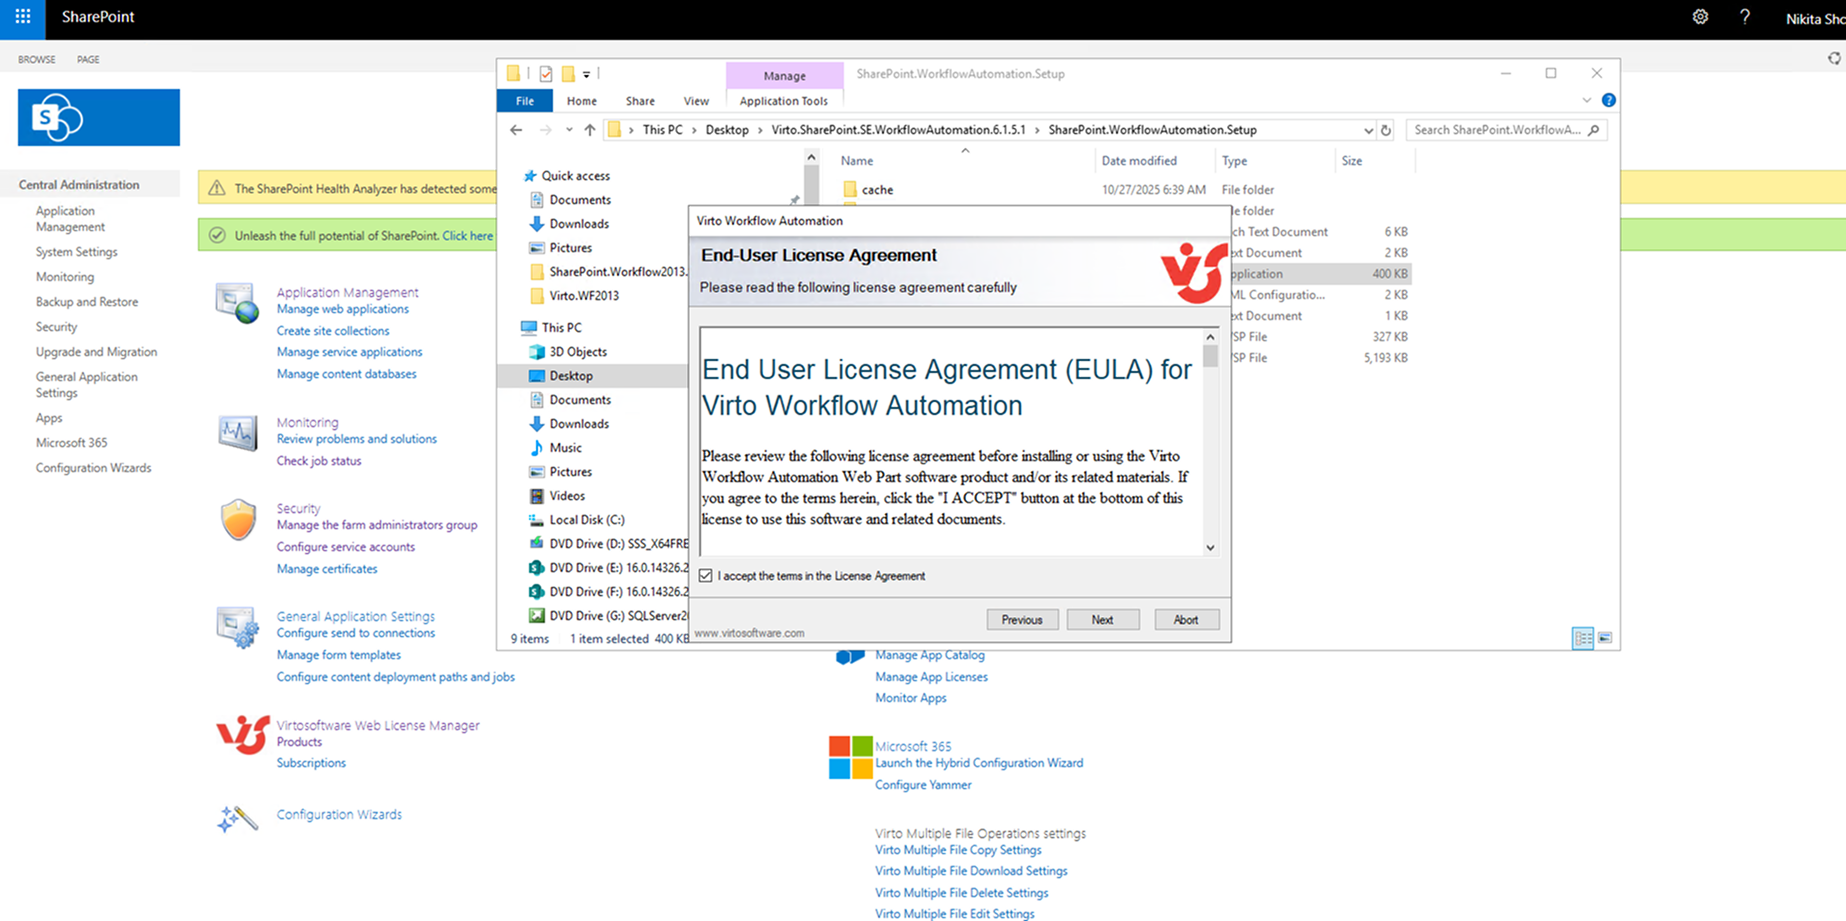
Review the license agreement, select “I accept the terms in the License Agreement”, then click “Next”.
Select the web application(s) where you want to install the product.
Warning: To enable automatic feature activation, you must be signed in on the SharePoint server with a Site Collection Administrator account.

Then click “Next”.

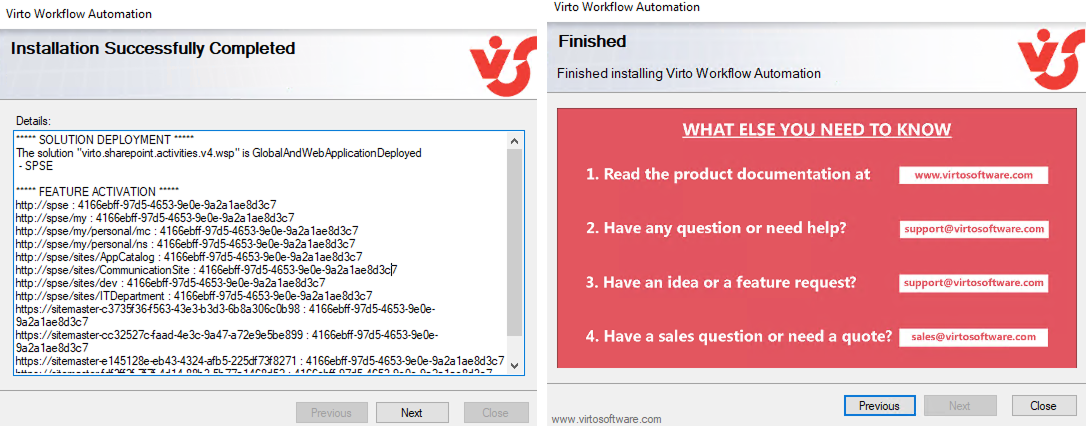
Wait for the installation to complete, then click “Close”.
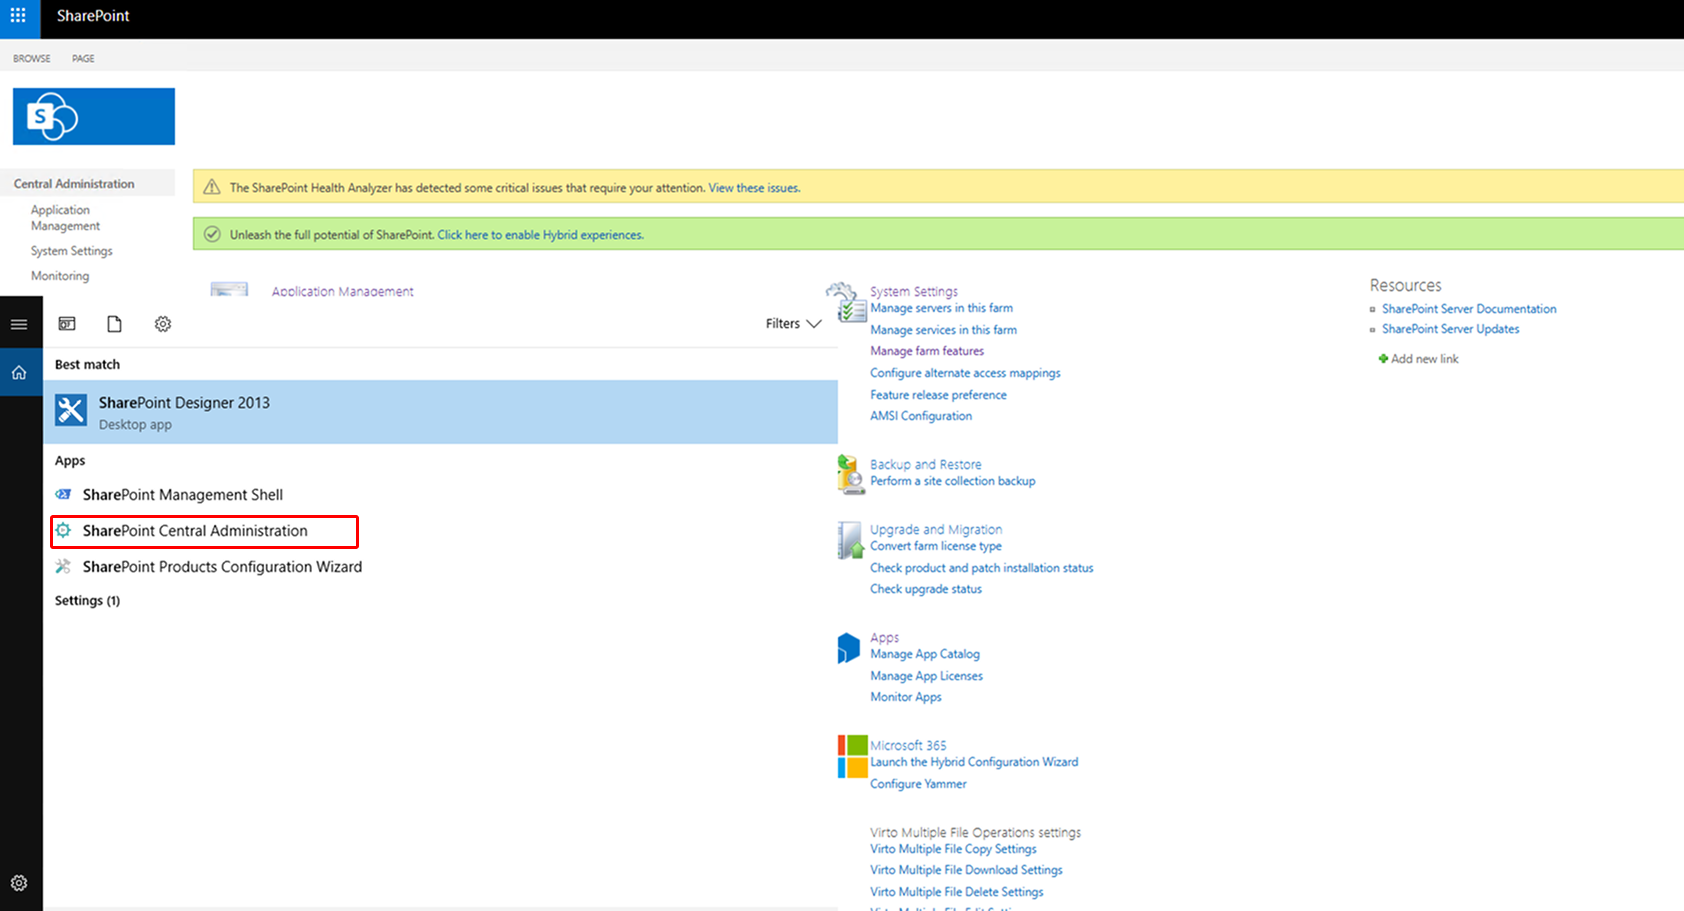
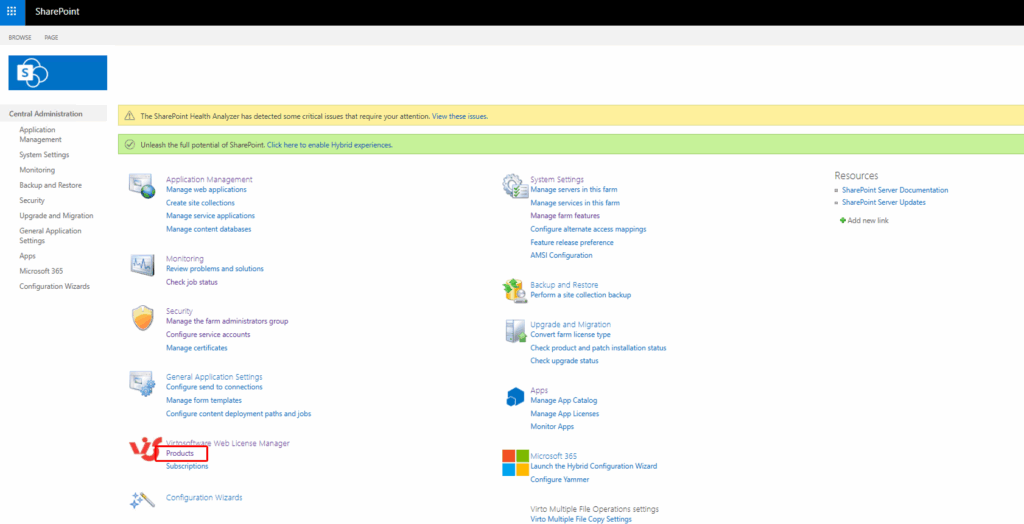
Now, run “SharePoint Central Administration“.
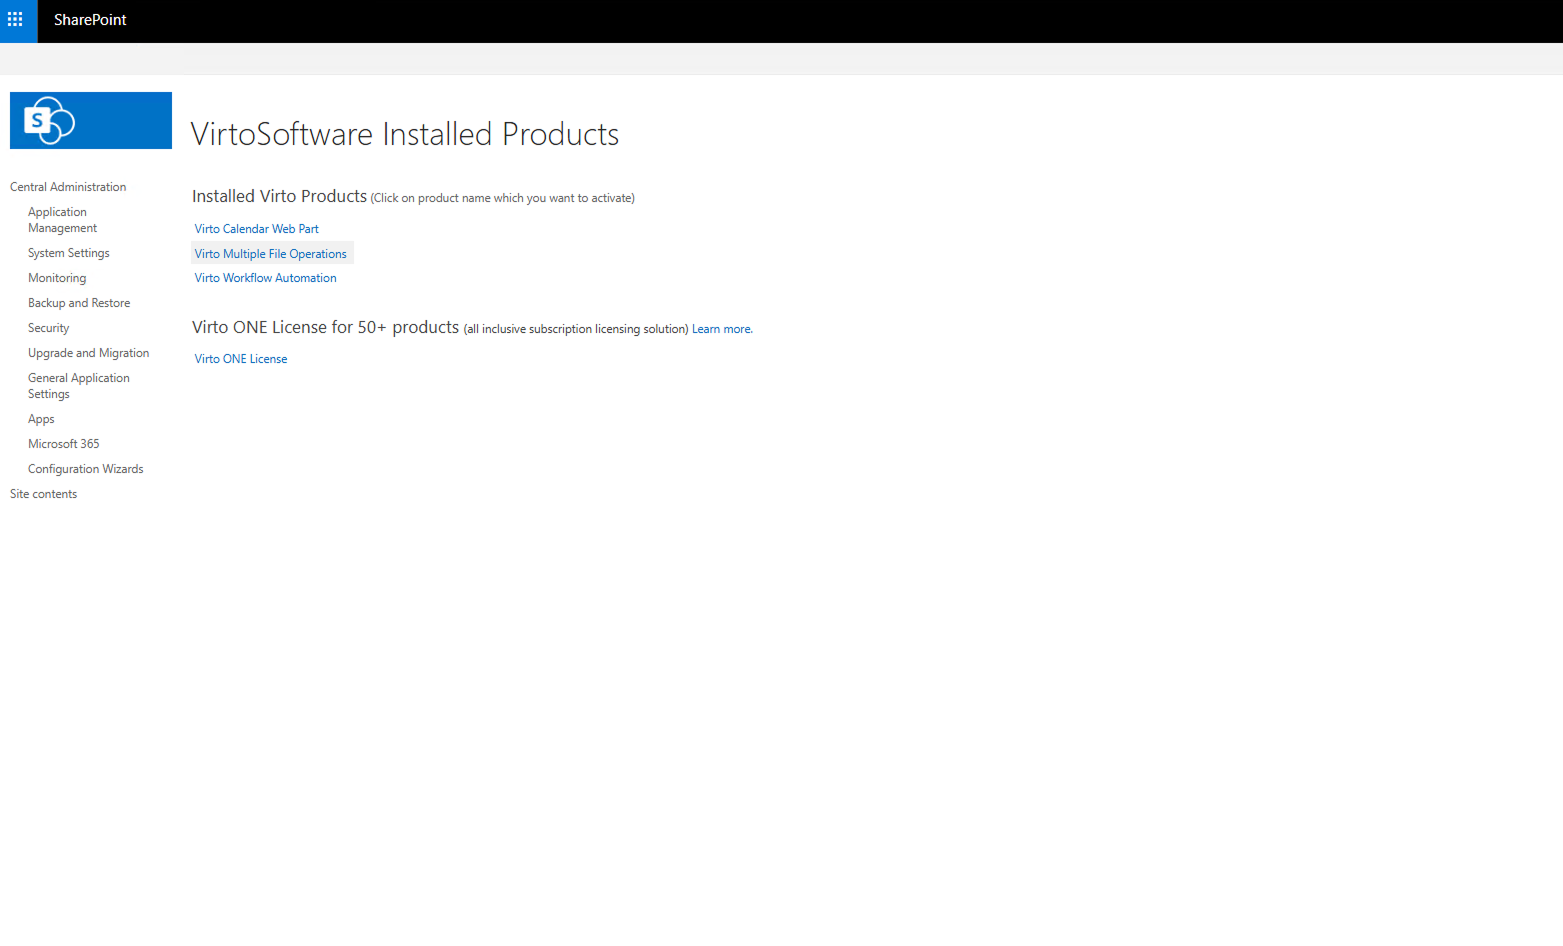
Check the installed apps by going to “VirtoSoftware products”.
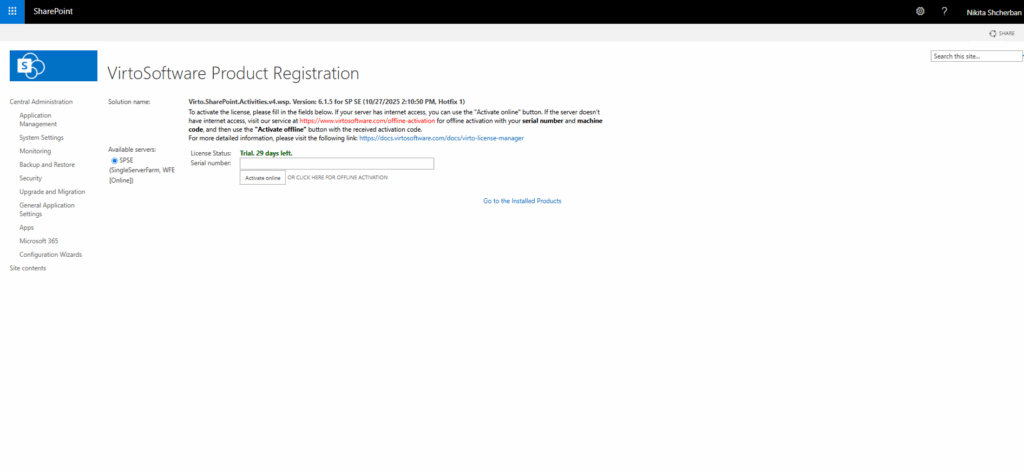
Click the app you want to activate—in this example, Virto Workflow Automation.
Enter the license serial number.
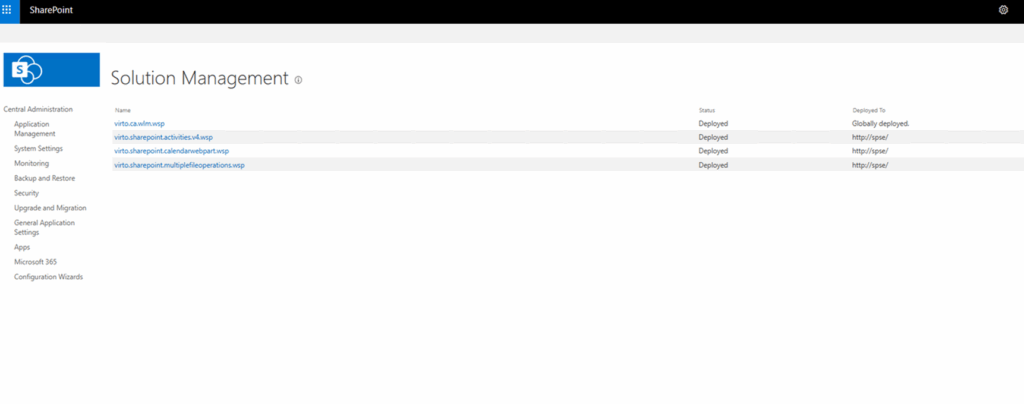
Now go to “System Settings” → “Manage farm solutions” to verify the apps/solutions show a status of “Deployed”.
Confirm the features are active. On the target site, go to “Site contents” → “Site settings”.
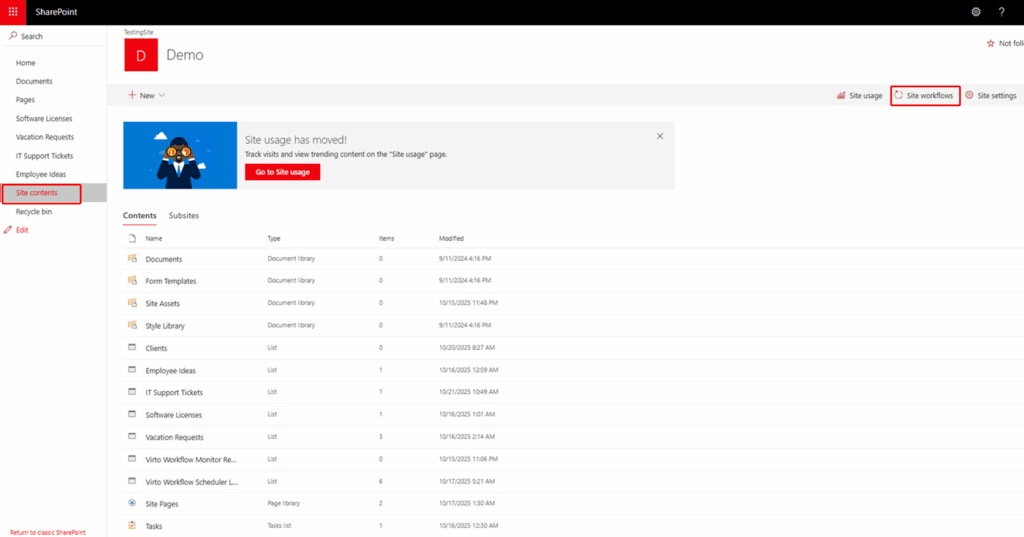
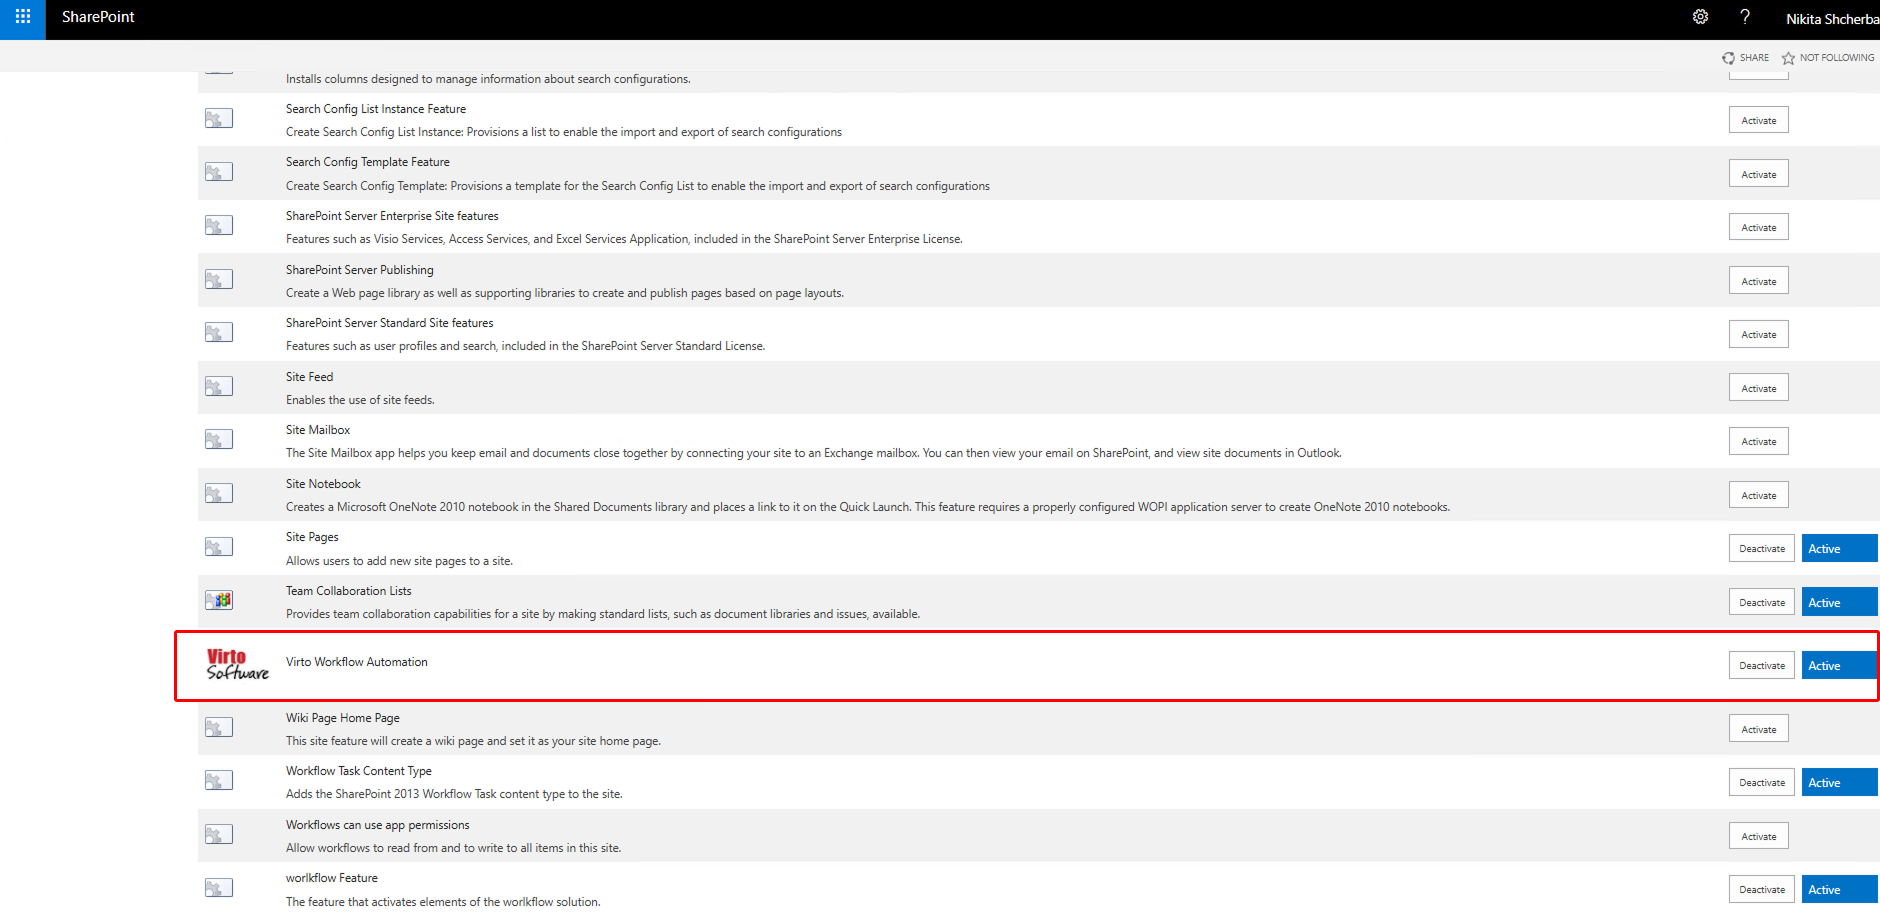
Open “Manage site features” and “Site collection features” to verify Virto Workflow Automation is “Active”. If not, click “Activate”.
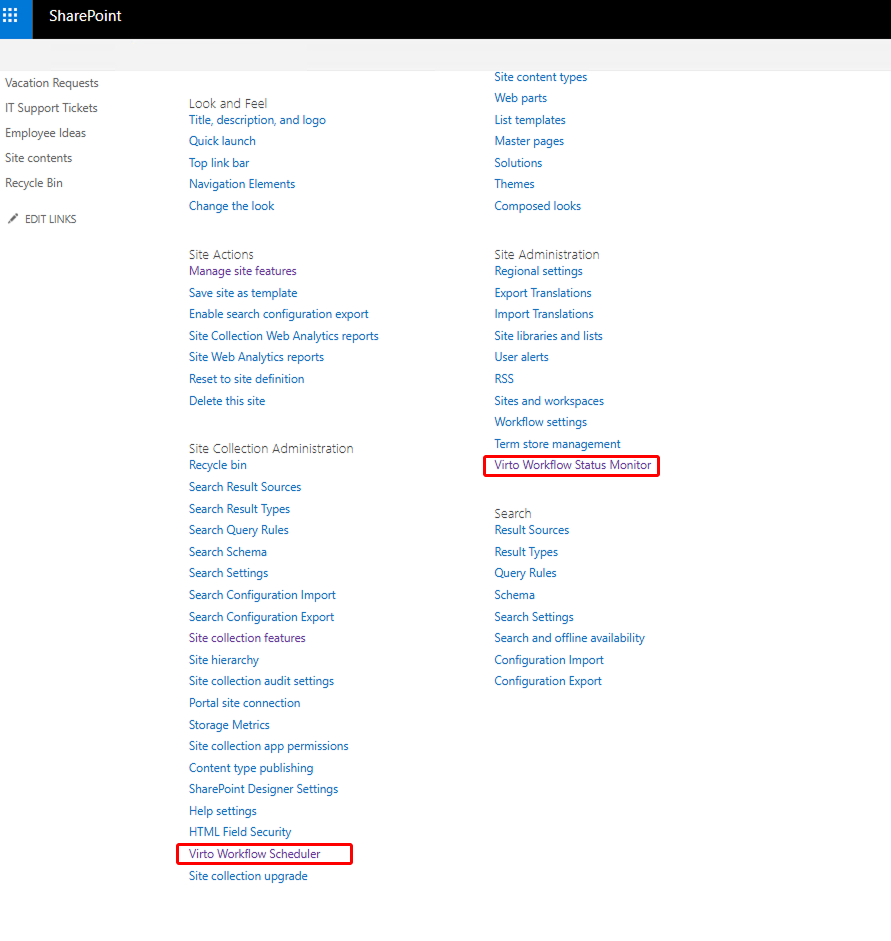
In site settings, you can also navigate to the Virto Workflow Status Monitor and Virto Workflow Scheduler apps.