Available resources: how to add a new resource
Switch again to the edit page mode.

Now open the “Available resources” tab. Here is the list of your existing resources, you may add, edit, and delete them. Each resource uses a SharePoint list as data source.
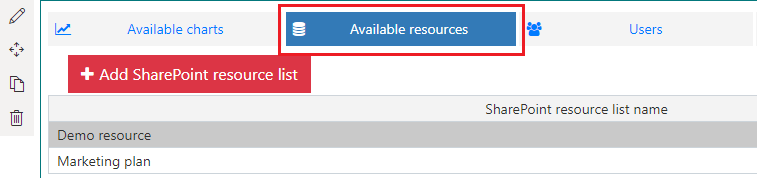
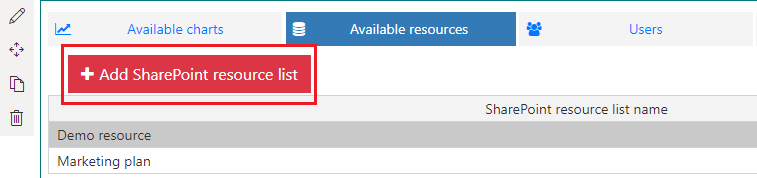
Click “Add SharePoint resource list” to add a new resource.
Specify the resource name. Then type URL of the site which contains the SharePoint where you plan to take data from.
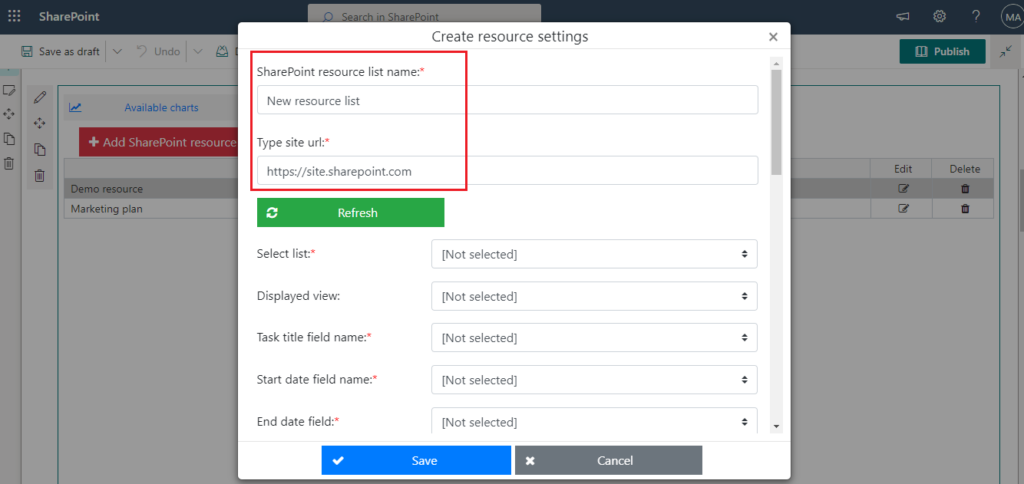
Note*: subsite URL also can be used.*
Now chose the required list in the dropdown.
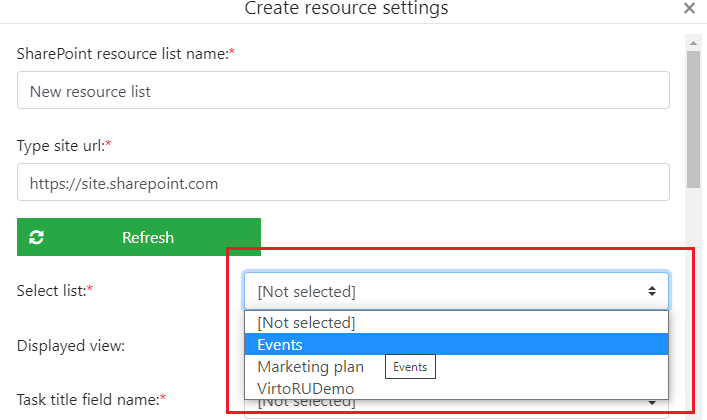
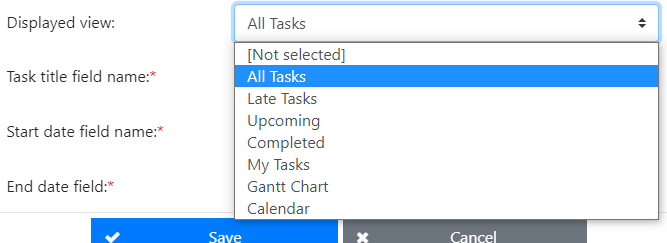
Choose the default view to use when you open this resource in the chart.
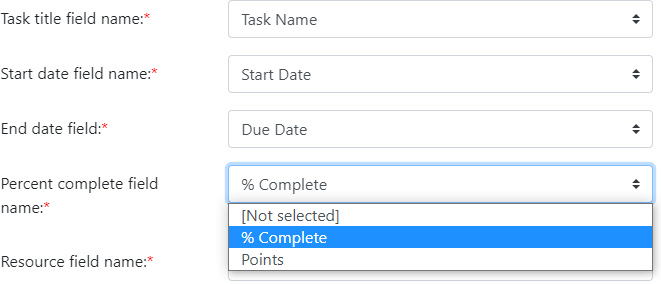
Now choose the corresponding fields for the required fields of future resource list: “Task title”, “Start Date”, “End Date”, “Percent complete”, and “Resource”.
Available field types:
- Task name can be a field of the following types: “Text”, “LookupMulti”, “Lookup”.
- Start Date and Due Date fields are fields of the DateTime type.
- Percent complete is a Number field.
Note*: the ReadOnly fields cannot be used in the resource list of the Resource Manager app. The “RelatedItems”, “ModStat”, “Attachments”, “OutcomeChoice” field types are not available for selection in the Virto Resource Manager.*
Then you can define colors for this resource in chart.
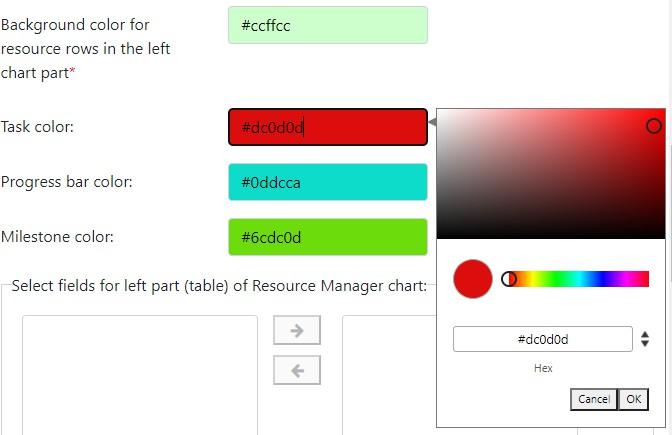
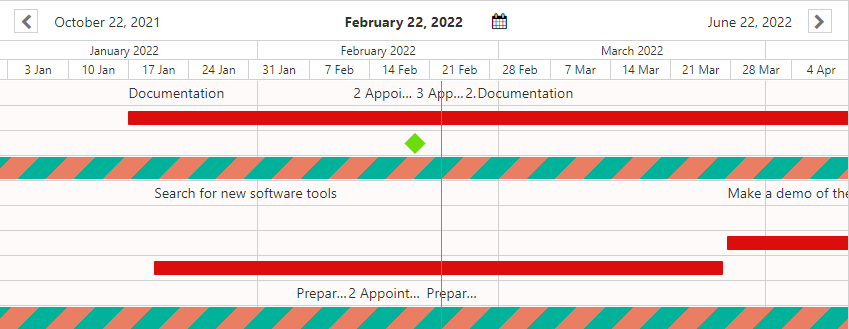
For example, the color scheme above was applied to the resource in a chart.
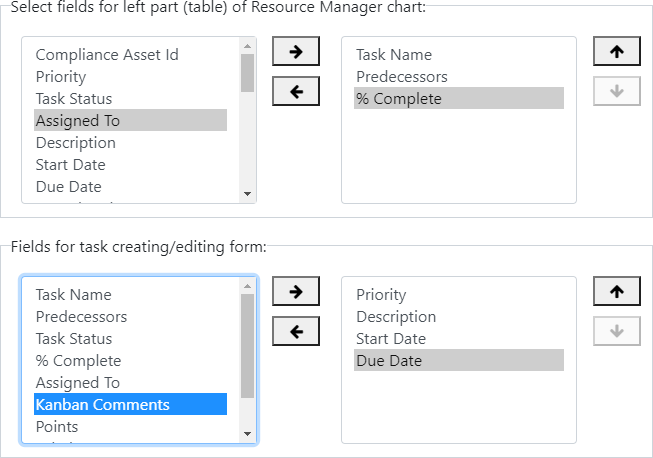
Then choose fields to display in the left part of the chart, on the task edit/create form and in the task tooltip. You can change the order of the fields with vertical arrows. This order will be applied to the fields.
Remember to save to the new resource.

The added resource will be displayed at the end of the resources list.
