To create a workflow schedule, click “Create”.

Now you need to define new schedule settings.
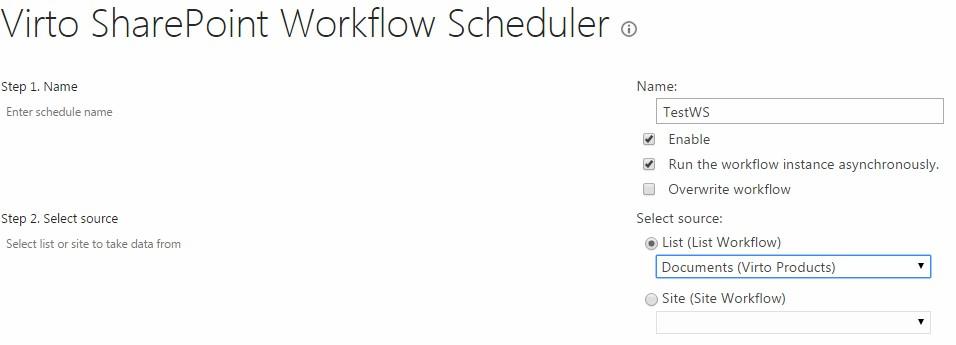
First of all enter schedule name and check the box “Enable”.
Now select a source list or site with workflow (all lists containing workflows will be displayed in the dropdown).
Virto Workflow Scheduler allows users to create workflows not only within SharePoint list but within the whole SharePoint site as well. This means that data will be taken from the site.
When you create (or edit) a workflow, you just need to select “Site” in the “Select Source” block.
Then you need to define items which the workflow will work for. You can select all items and check or uncheck box “Include folder”.
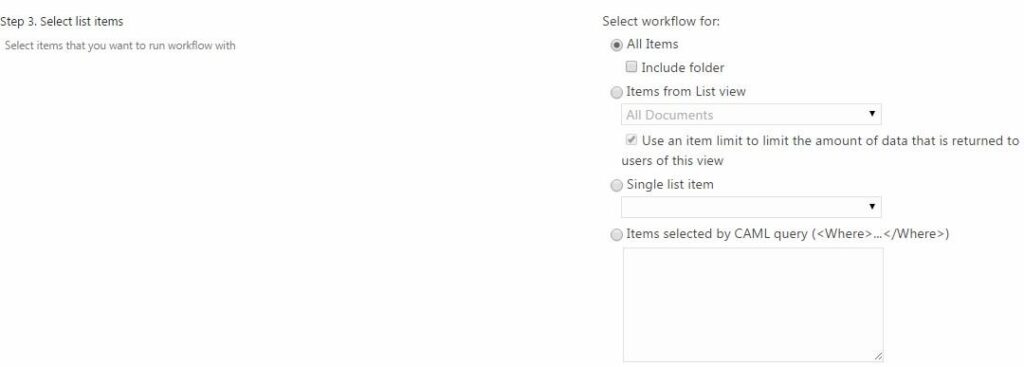
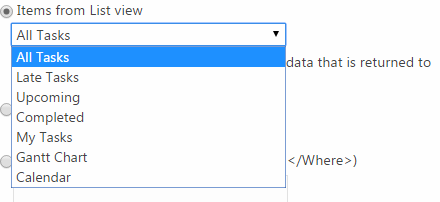
Or you can select items from a certain list view:
Or a single list item.
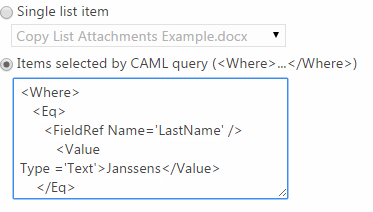
It is also possible to define items selected by CAML query.
Then select a workflow that will be run for selected items.

If you want to change event data defined for selected workflow, you can edit it (optional field).

Then set a time trigger and define on which date and time workflow should start.

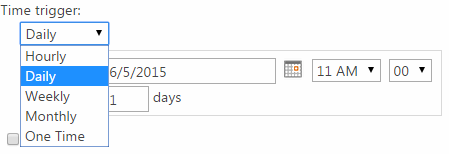
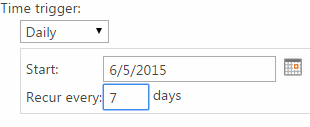
In case you need to set a recurrence schedule, define required settings.
Moreover, you can start a workflow under specific account (workflow are run under system account by default).

When the schedule is created, you will see it in the list of schedules on Workflow Scheduler page.

The following workflow details will be shown:
- Name (workflow schedule name);
- Workflow (selected from the list);
- List (source list and site);
- Item (items workflow will run for);
- Status (current state of the workflow);
- Next runtime (time when the workflow will be run);
- Triggers (type of schedule);
- Last Runtime (time of previous running);
- Result (the result of workflow).
If you want to disable a workflow schedule, check the box of it and click “Disable”.

You can enable or disable a workflow schedule by checking the according boxes.

Check the box of required workflows and click “Delete” to delete them.
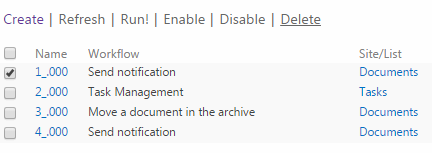
Use “Refresh” button to refresh data.

Select workflows and use “Run” button to start several workflows manually.

You can also click on workflow name to be redirected to workflow logs.

Here you can check the details and see all workflow logs.
