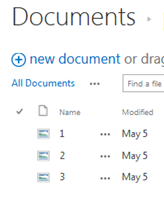
Open the SharePoint site and go to the document library where archives are uploaded. The unpack options will only be available to users with the rights to create files.
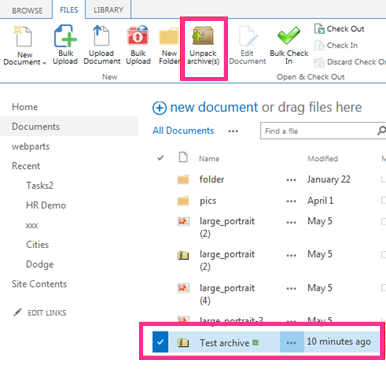
Choose the archive to unpack and click the “Unpack archive(s)” button on the ribbon.
The unpack options page will appear. Check the boxes depending on the settings you want to apply:
- Overwrite existing files (this option allows you to overwrite existing files with the extracted files)
- Delete the archive file after successful extraction (the archive will be deleted after unpacking – this helps to save more space on the disk)
- Keep the original files’ created/modified time (when files are extracted, the creation time is the time of unpacking, but you can use this checkbox to keep the files’ original created/modified time)
- Enter the password if required (if a password has been set for unpacking files in this document library or site, enter the password to unpack it; if a password is not required, leave this field empty)
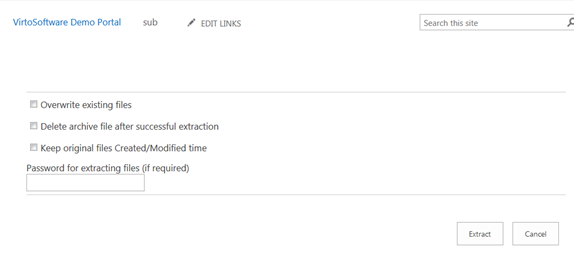
Click “Extract” to complete the action. If the unpacking is successful, you will see a confirmation message.
Click “Back to Document Library” to return to the site.
If something goes wrong, you will see the exception message. The archive may be partially unpacked.
If the document library requires files to be checked out, the unpack action will check files in and out.
Bulk File Unzip by Virto supports the unpacking of multiple archives in SharePoint. Select archives in the library and use the “Unpack archive(s)” button on the ribbon.

Define settings in the new window.

Extracted files and folders will appear in the document library.
Bulk File Unzip will keep the original folder structure after unpacking.