Adding a New Data Source
This guide shows you how to add a new calendar from a SharePoint list.
First, click the calendar name.
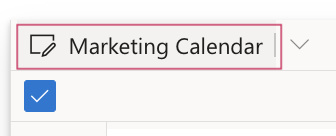
Calendar name in the upper left corner.
Choose one of two options in the “General” tab: “Add existing data source” or “Create new SharePoint data source.”
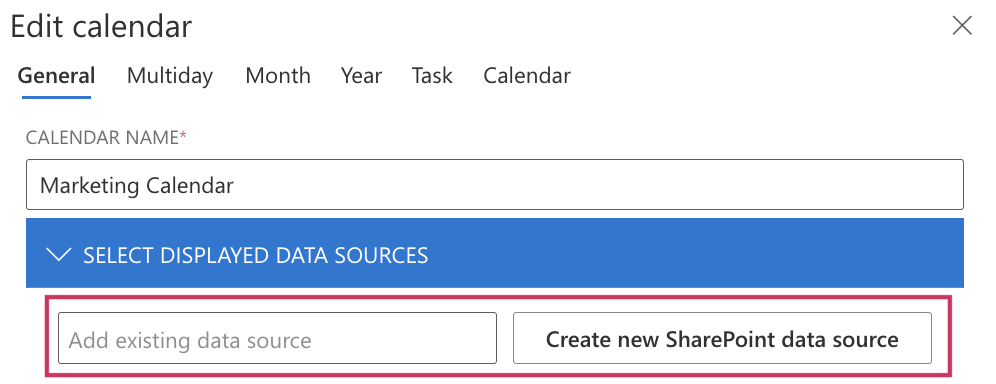
Add existing data source
If you add an existing data source, choose a SharePoint list from the drop-down list.

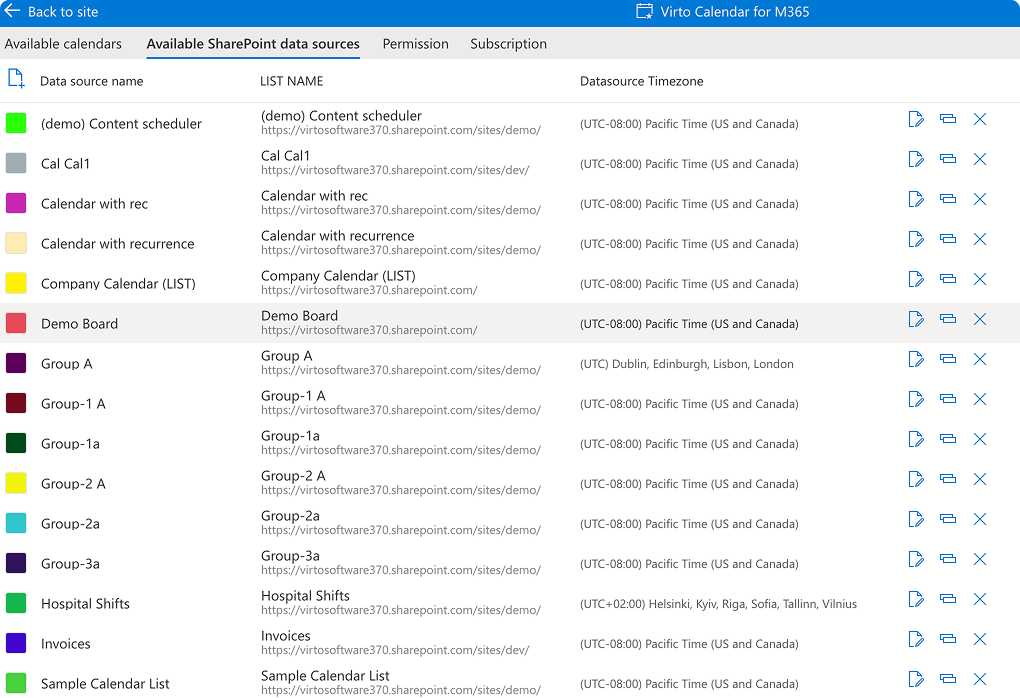
You can also find all the available lists displayed in this drop-down list in the “Available SharePoint data sources” tab.
Use the checkboxes to determine whether the calendar should be read-only, whether it should be shown in the calendar, and whether events should be hidden.
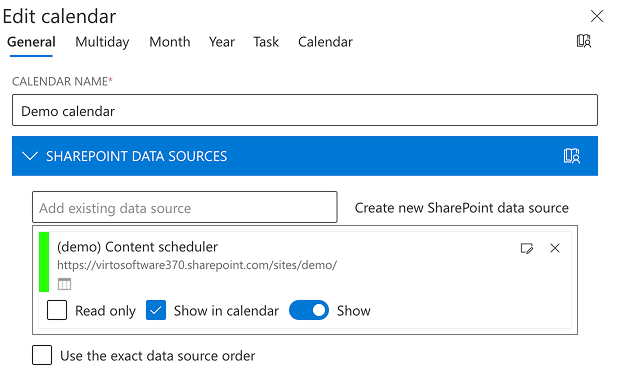
Click “Add” at the bottom of the window. The new data source will now appear in the list.
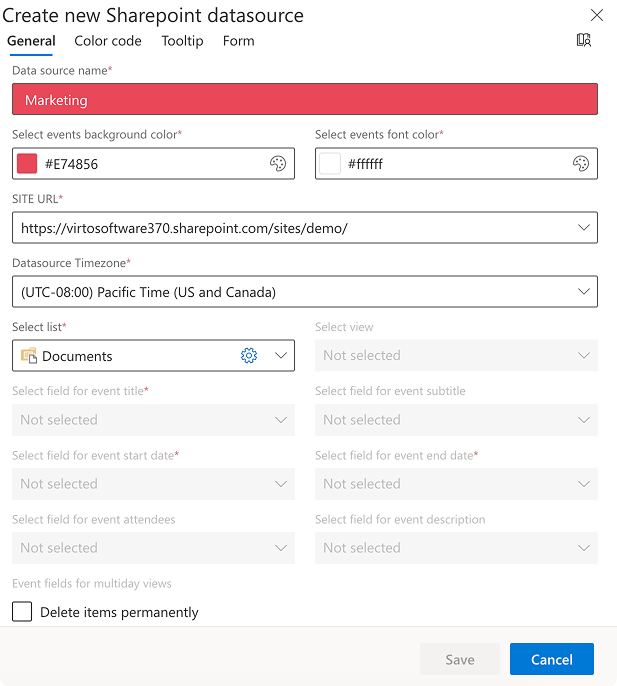
Create new SharePoint data source
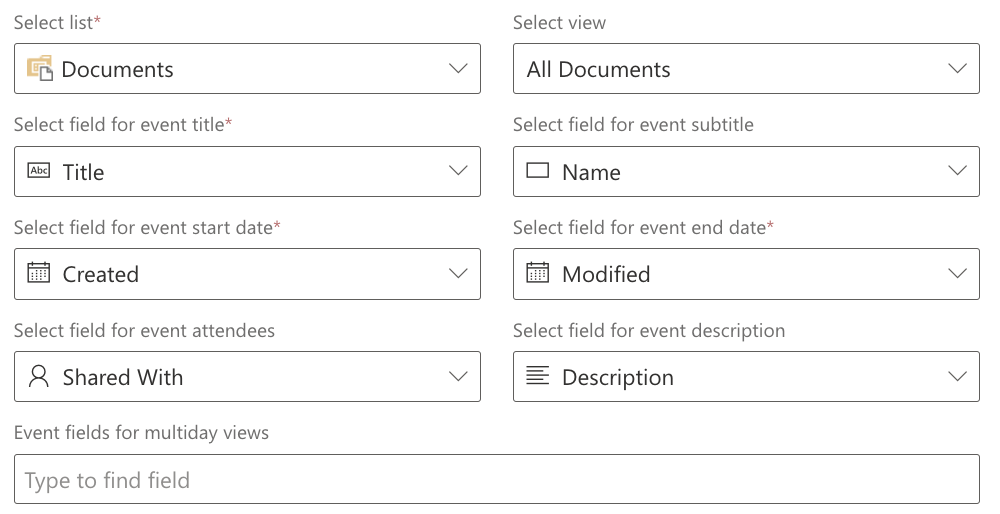
if you add a new source, choose a SharePoint list from the available list and fill in the required fields: name, site URL, data source time zone, fields for event title, start date, and end date.
For a calendar to display the time correctly, ensure that Datasource Timezone matches the time zone in SharePoint settings.
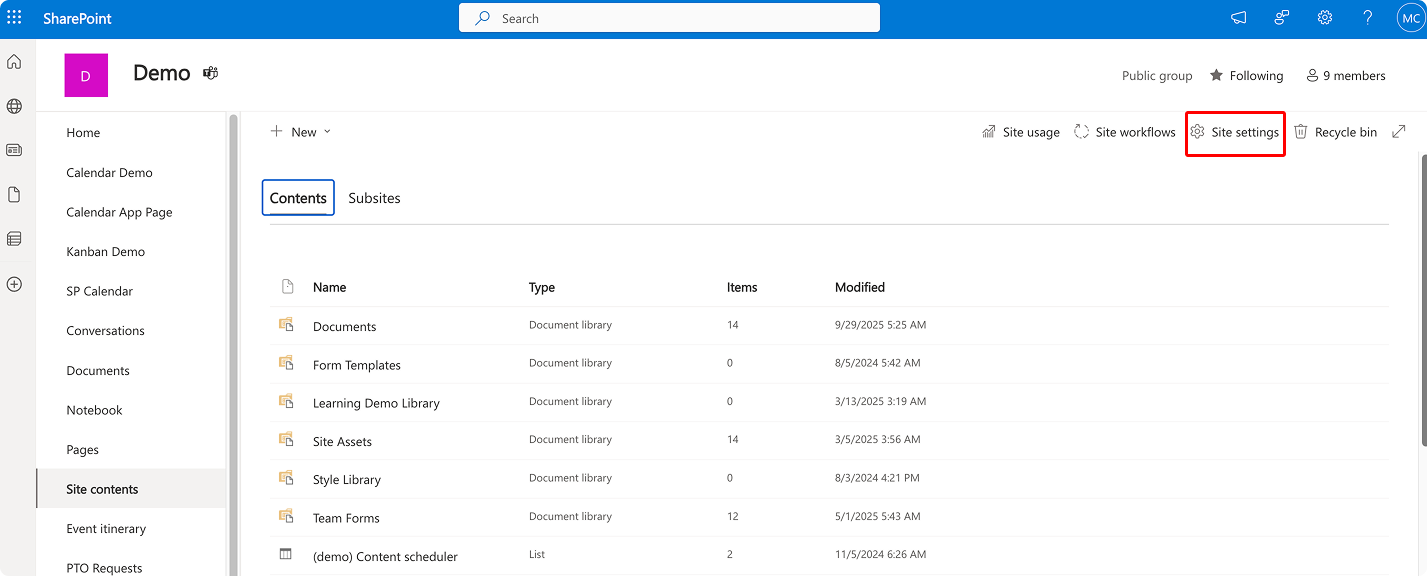
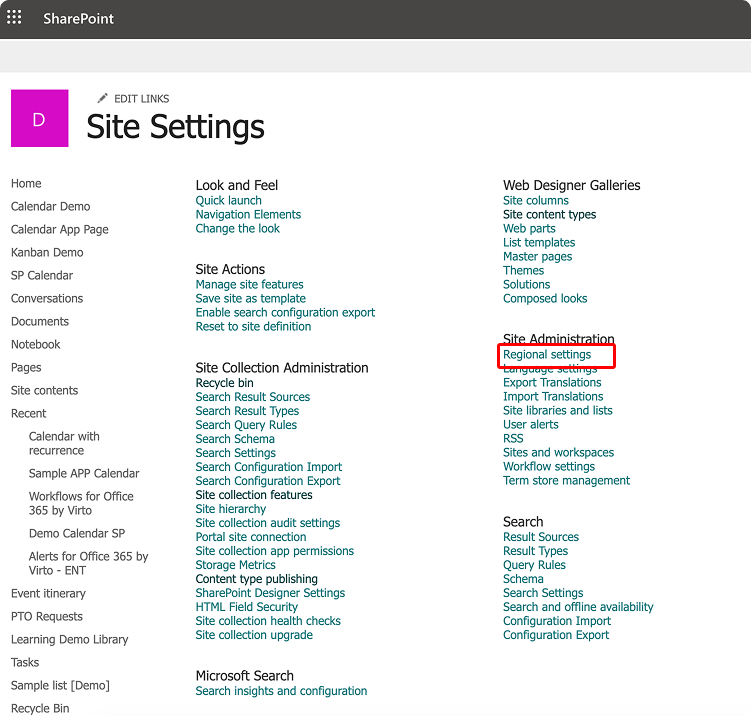
To check if they match, go to your SharePoint site, click on the gear in the upper right corner, then find “Site settings” (or “Site contents” -> “Site settings”) => “Regional settings,” and make sure the time zones match.

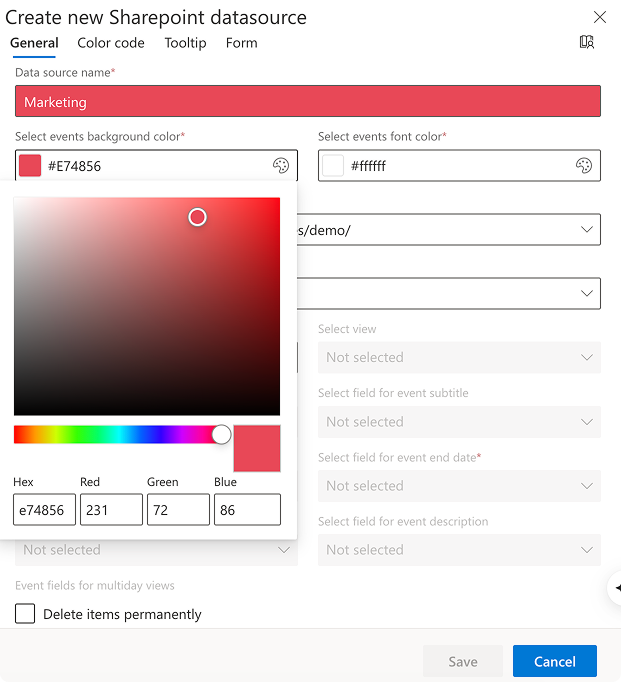
Back to datasource settings, choose a color for the new data source. Click the palette icon within the color menu to pick from the full palette.
Select the fields you wish to show in the calendar tooltip. The same option is available for the event form (opens when you create or edit an event).
When ready, click “Save” to save the new data source.