Second Level: Virto Calendar App Permissions Settings
To access the Virto Calendar App permissions settings, click the cog icon in the upper right corner and click “Settings.”
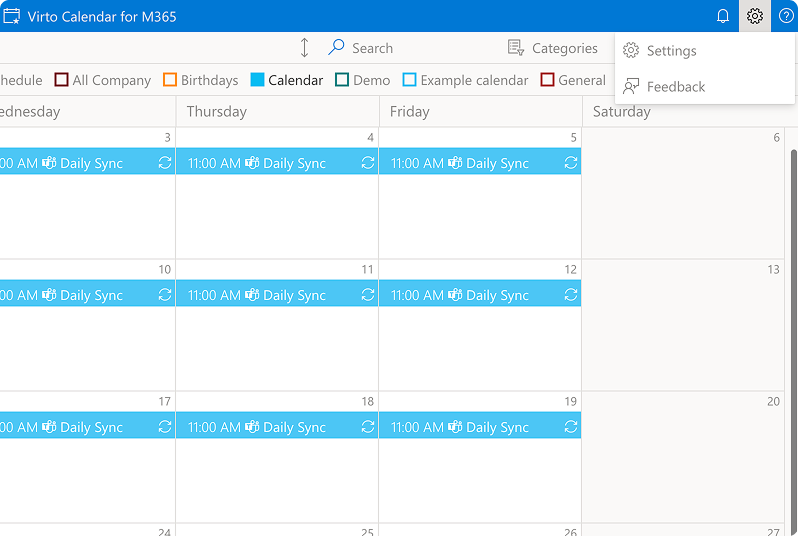
Then, click the “Permission” tab.
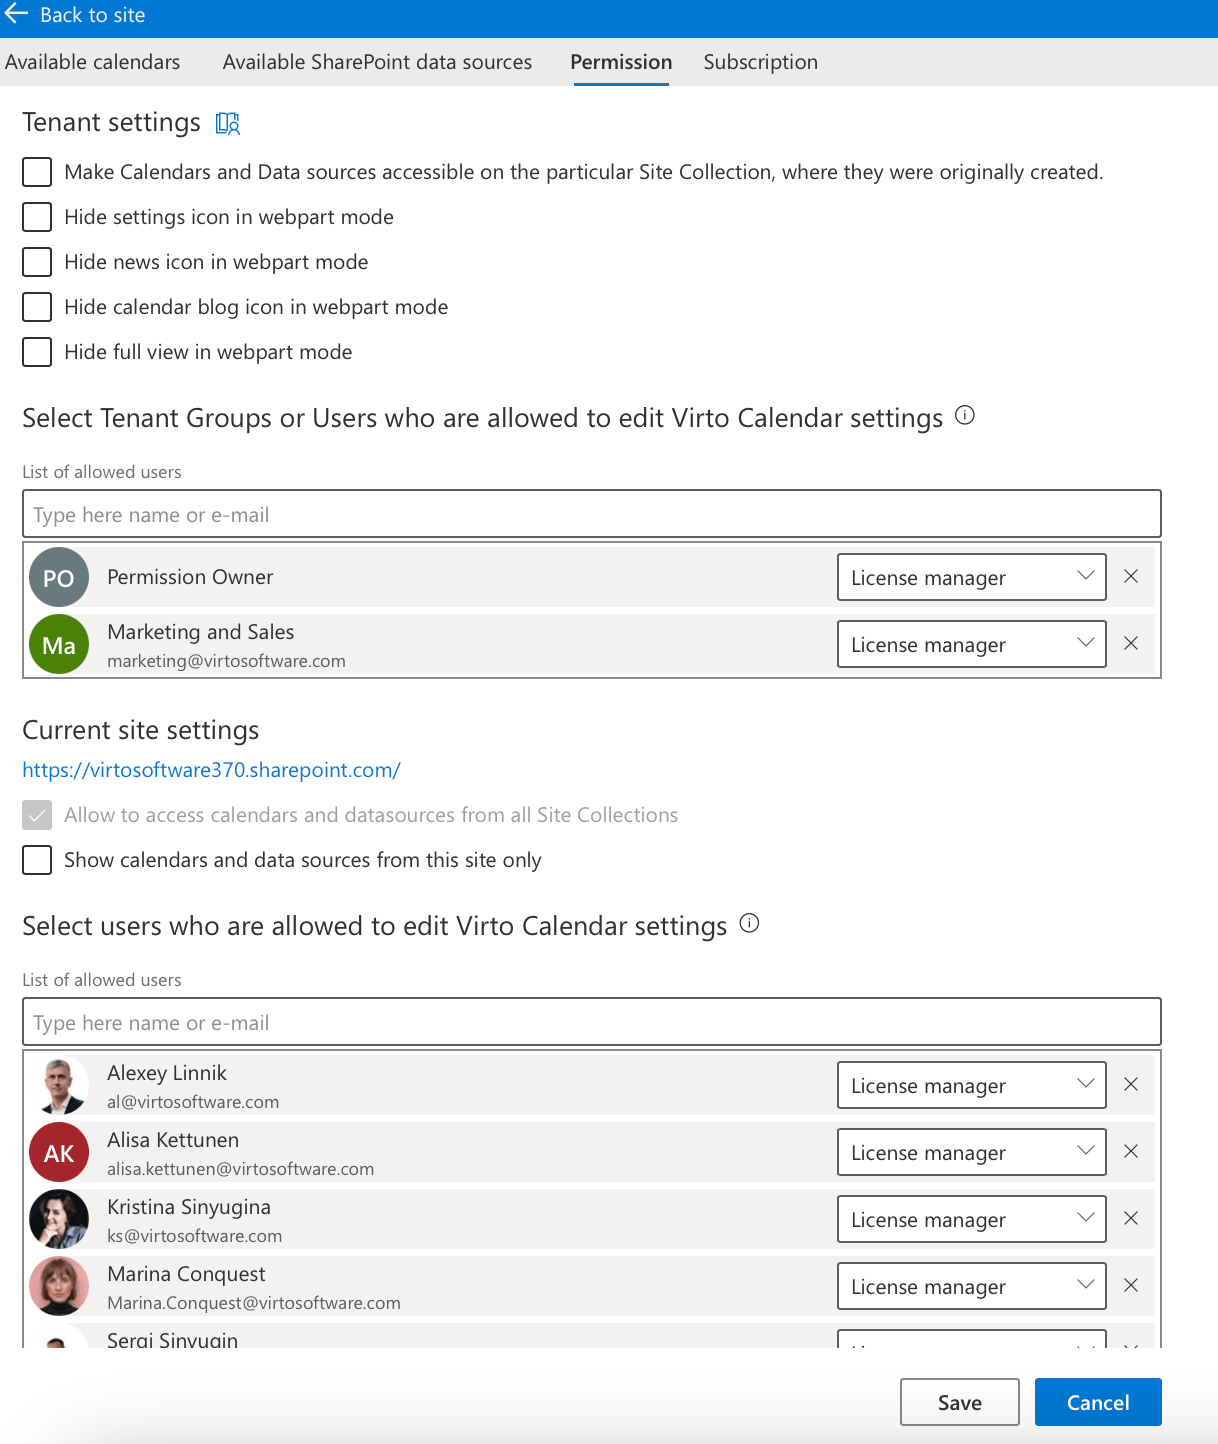
Here, you will find two categories of permission settings: tenant settings and current site settings.
Tenant settings
In the tenant settings section, you can configure the following options:
- Make Calendars and Data sources accessible on the particular Site Collection, where they were originally created — check this box if you wish to keep calendars and data sources available on the specific site collection where they were created.
- Hide settings icon in webpart mode — hides the settings icon when the calendar is displayed in web part mode.
- Hide news icon in webpart mode — hides the news icon in web part mode.
- Hide calendar blog icon in webpart mode — hides the calendar blog icon in web part mode.
- Hide full view in webpart mode — hides the full view option in web part mode.
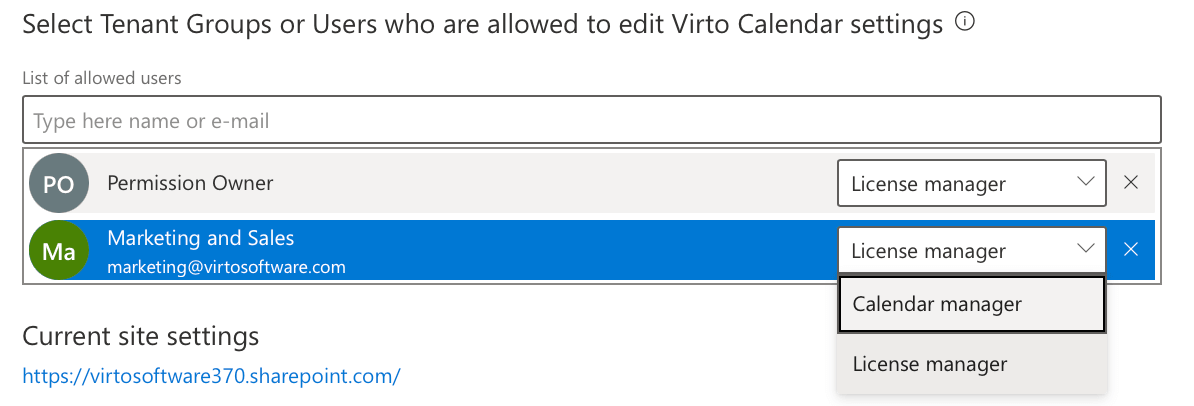
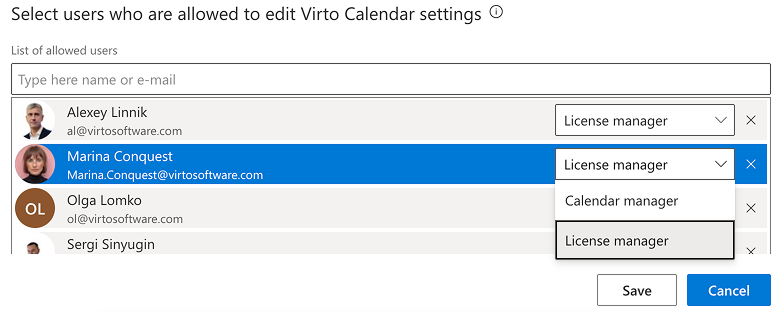
Below these options, you can select the tenant groups or users who are allowed to edit Virto Calendar settings. Type a name or email in the “Type here name or e-mail” field to add them to the list of allowed users. Each added group or user can be assigned the role of Calendar Manager or License Manager. License managers can assign calendar managers, while calendar managers can edit calendar and data source settings.
Current site settings
In the current site settings section, you can manage permissions for the specific site displayed at the top of the section. Check “Show calendars and data sources from this site only” if you want to limit access to the current site.
To select the users who are allowed to edit Virto Calendar settings on this site, type their name, surname, or email in the “Type here name or e-mail” field to add them to the list of allowed users.
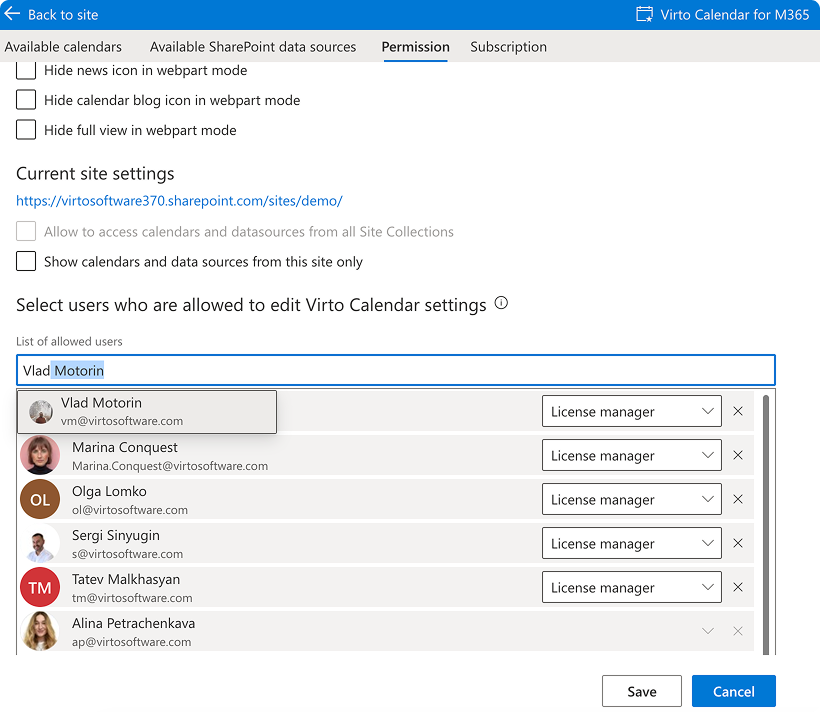
You can assign them the roles of Calendar Manager or License Manager. License managers can assign calendar managers, while calendar managers can edit calendar and data source settings on the current site collection.
As you may have noticed, the possibility of editing some users is muted. These users are site collection administrators. Therefore, to remove these users from the list of allowed users, you must remove them from site collection administrators.
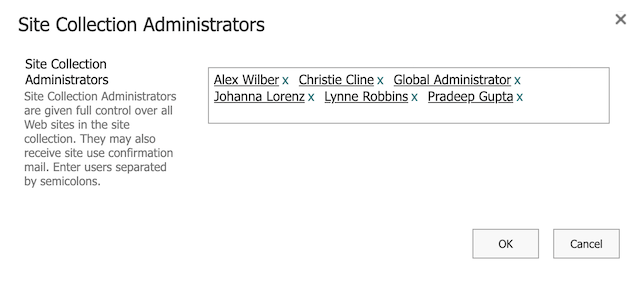
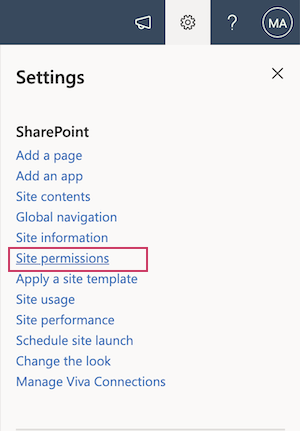
To edit the list of site collection administrators, go to your site collection settings. To do this, go to your SharePoint page, click on the cog icon in the upper right corner, and click “Site permissions.”
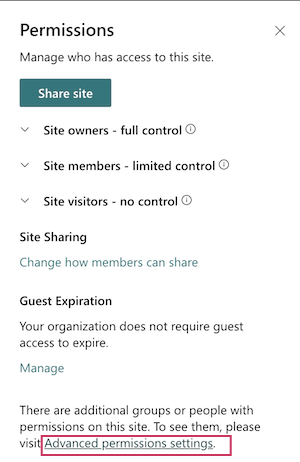
Then proceed to “Advanced permissions settings.”
In the top menu, click on “Site Collection Administrators.”
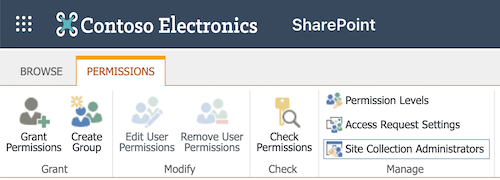
Now, you can edit the site administrators by typing their names to find and add new administrators or by clicking “x” to unassign any current administrator.