Click any field to edit its information. Or click “Add Field” to add a new one.

The following parameters can be set for every field:
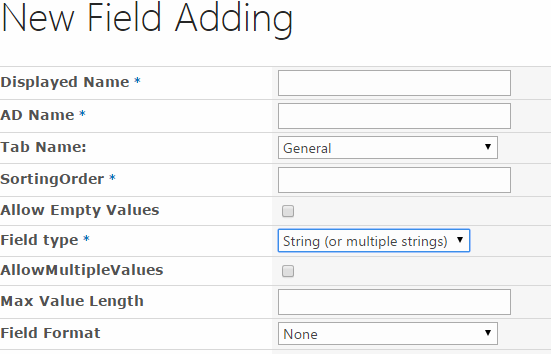
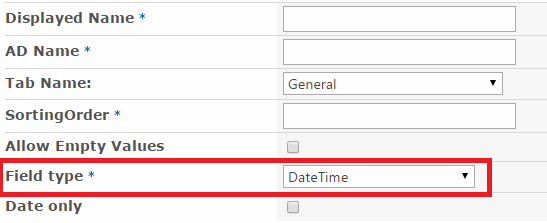
- Displayed Name – name displayed in the list of fields.
- AD Name – name in Active Directory corresponding to the current field.
- Tab Name – Web Part’s tab which contains this field. Only one tab name can be selected.
- Sorting Order – number of position in the list.
- Allow Empty Values – ability to allow users to leave this field empty.
- Allow Multiple Values – ability to allow users to enter more than one value for this field.
Note: “Allow Empty Values” and “Allow Multiple Values” check boxes work only in case Active
Directory fields have the same settings.
- Field type – type of field. The following types can be used.
- String (or multiple strings);
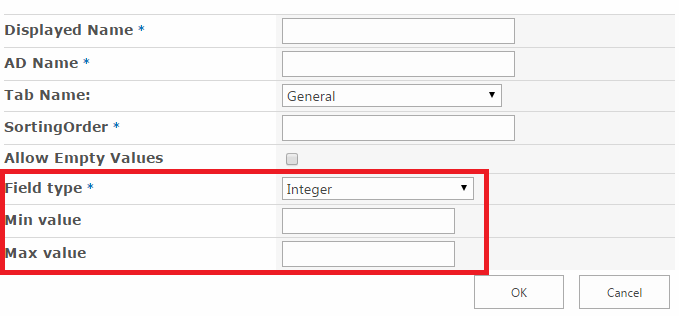
- Integer (enables to define minimum and maximum value);
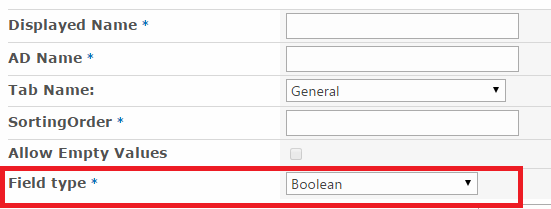
- Boolean (enables to display checkboxes instead of txt box);
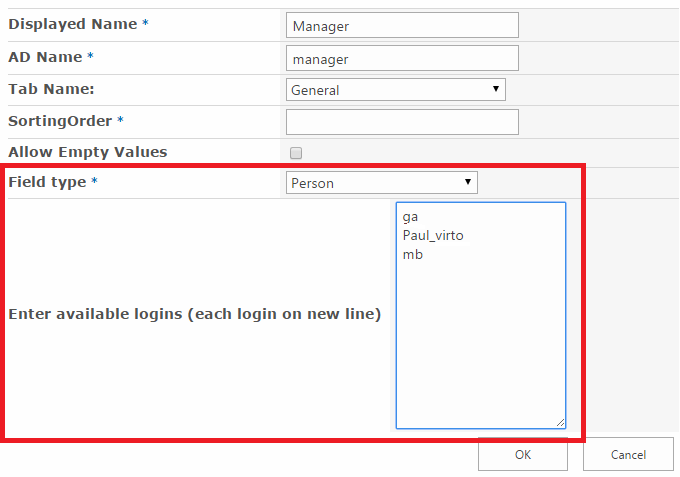
- Person (just enter available logins (each login on new line);
- DateTime (you can check the box “Date only” to display only the date, date picker can be used);
- Image (only .jpg format is allowed).
- Max Value Length – defined maximum length of entered text or symbols.
- Field Format – one of available field formats (see “Available Field Formats” section).
- “Lookup Field” – add any amount of values for this field which will be selected from the dropdown in the future (the list of cities for “Location” field for example”.
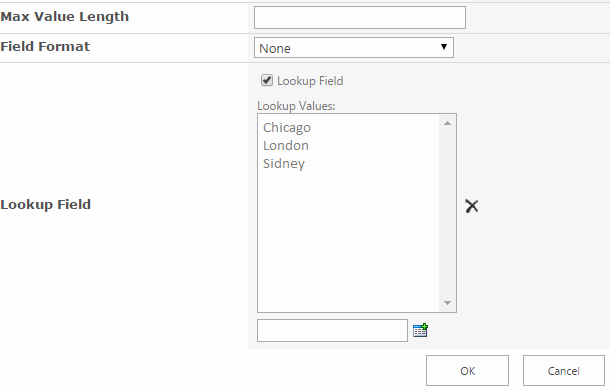
Now you can see this field in the web part (“Location” field). Click “OK” to save the settings.
Note: there may be a situation, when user adds field that does not have any values in corresponding AD field (field is empty). In this case when user fills out this field with the web part, the same value will be written in the corresponding AD field as well.
When the list of fields is defined, you can adjust fieldsets.