Adding Web Part to a SharePoint Site
Below is a list of steps to add Virto Workflow Status Monitor to a classic and modern SharePoint page.
Add Virto Workflow Status Monitor to a classic SharePoint page#
- Go to the SharePoint site where you want to add the Virto Workflow Status Monitor web part.
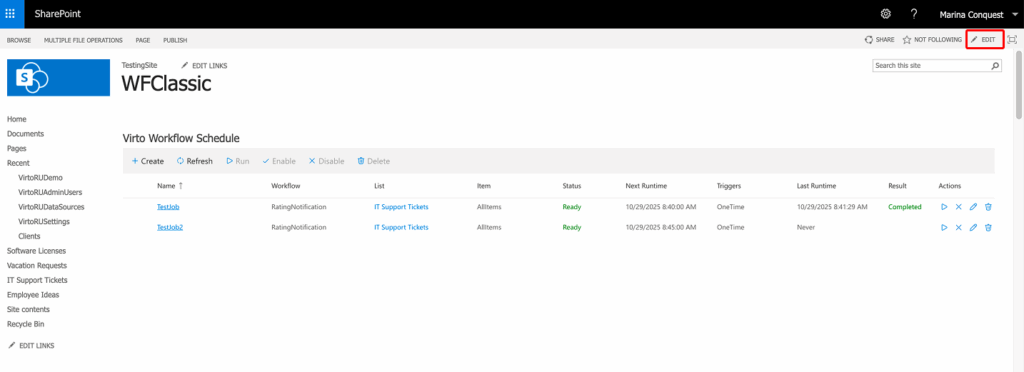
- Open the page in edit mode:
- Click Edit on the page toolbar.
- In edit mode, move to the zone where you want to place the web part and click Insert, then WebPart on the ribbon.
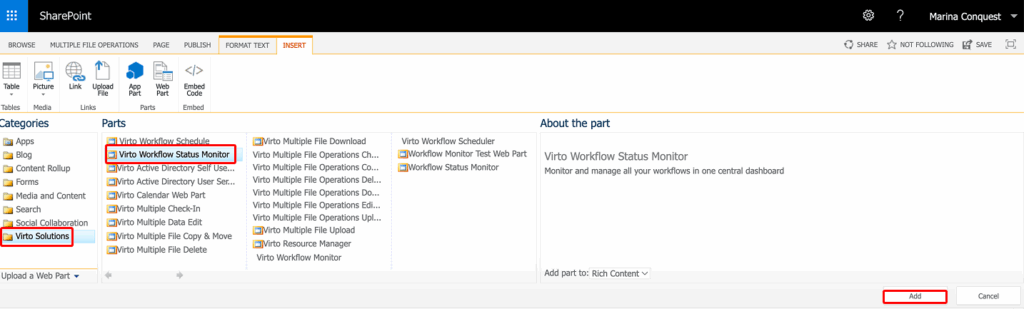
- In the web part gallery that opens, find Virto Solutions, then Virto Workflow Status Monitor.
- Select the web part and click Add.
- Click Exit edit mode / Stop Editing to save the page.
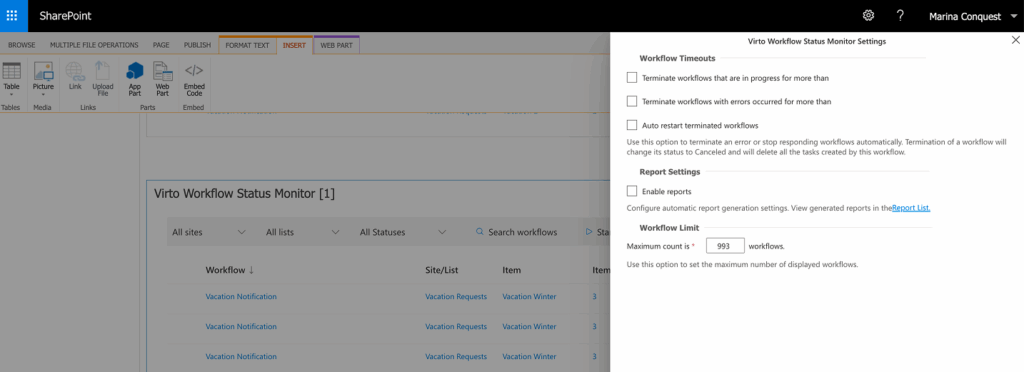
- To configure the web part, open the web part Settings [gear icon] and adjust the Status Monitor Web Part Settings as required.
Add Virto Workflow Status Monitor to a modern SharePoint page#
- Go to the SharePoint site (modern experience) where you want to display workflow statuses.
- Either:
- Click New→Site page to create a new modern page, or
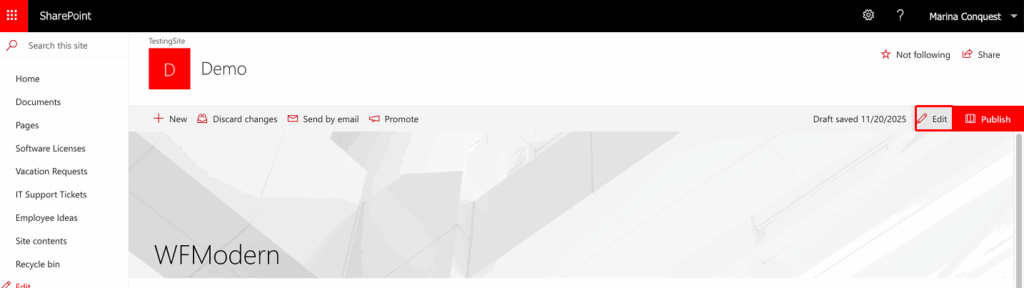
- Open an existing modern page and click Edit.
- On the page canvas, click the + icon in the section where you want to add the web part.
- In the web part picker, search for Virto Workflow Status Monitor and click its tile/icon to add it to the page.
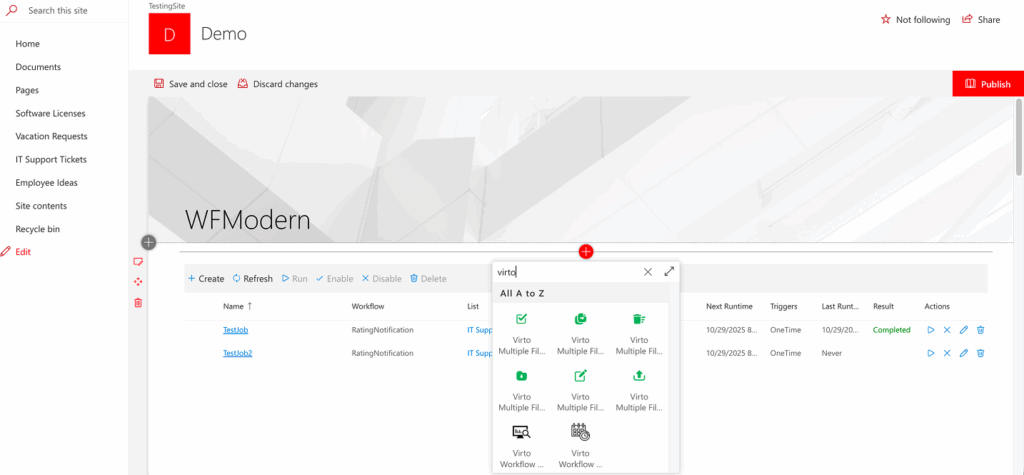
- Once the web part is added, open its settings pane (the Edit/pencil icon) and configure Status Monitor options as needed.
- When configuration is complete, click Publish (or Republish) in the top-right corner to save and make the page available to users.