Creating Workflow Schedule
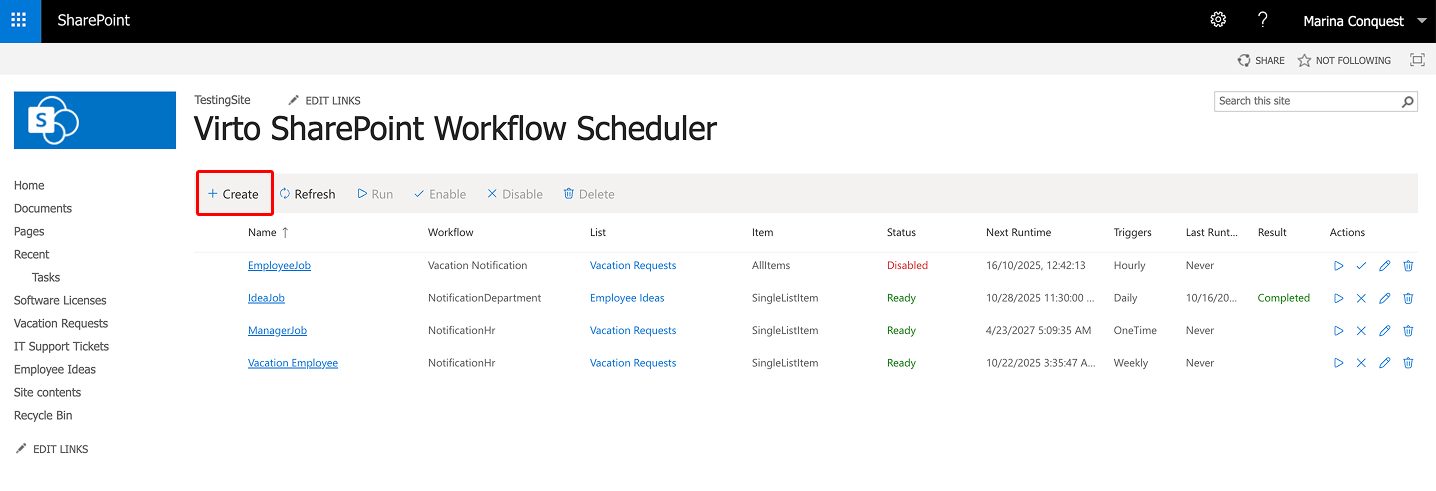
To create a workflow schedule, click “Create”.
Now you need to define new schedule settings.
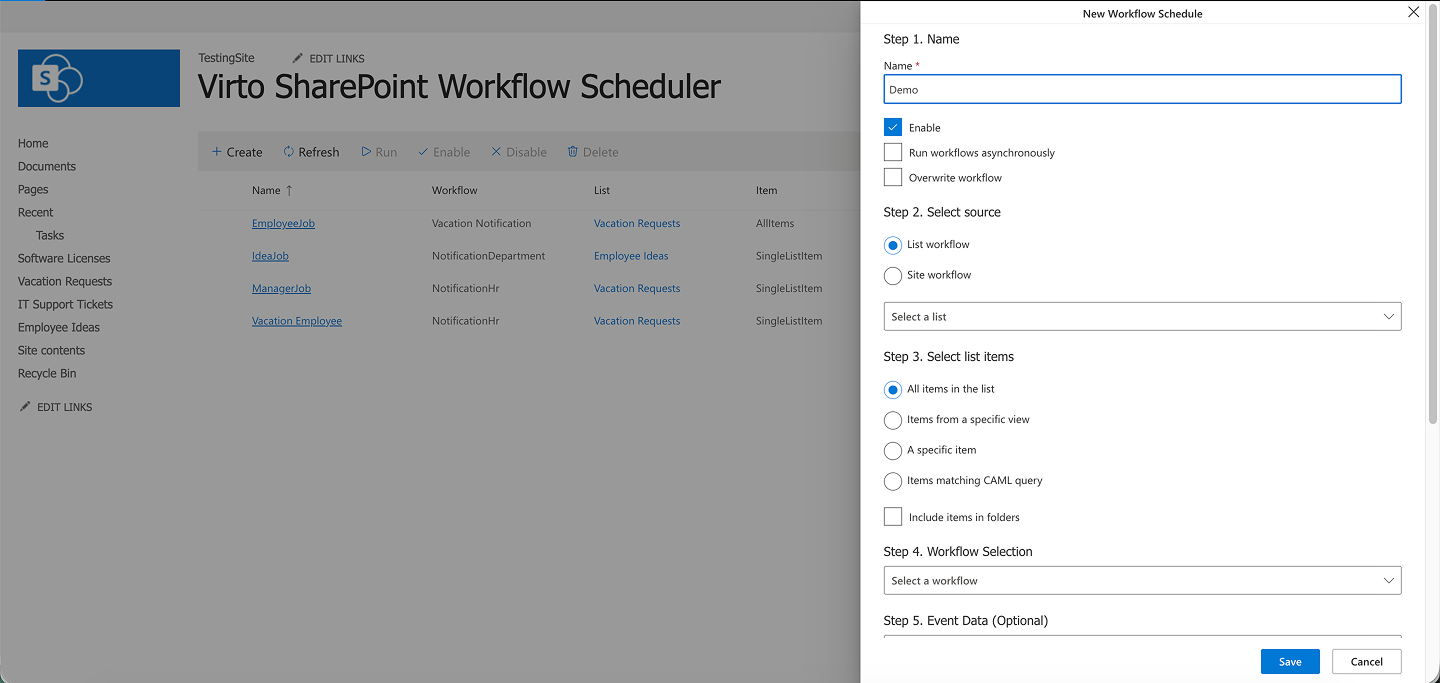
First, enter a schedule name and check “Enable”.
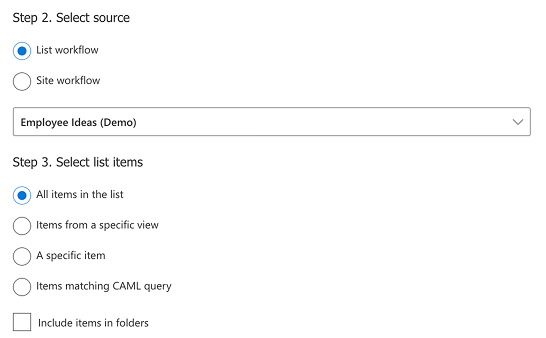
Next, choose a source: either a “List workflow” (the dropdown shows all lists with workflows) or a “Site workflow”.
Virto Workflow Scheduler lets you create workflows at the site level, not just within a SharePoint list—so the data source can be the entire site.
Then define which items the workflow will run on. You can select “All items in the list” and check “Include items folders”. You can also select items from a specific view, specific items, or items matching CALM query.
Then select the workflow to run on the chosen items. If needed, you can edit the event data for that workflow (optional).
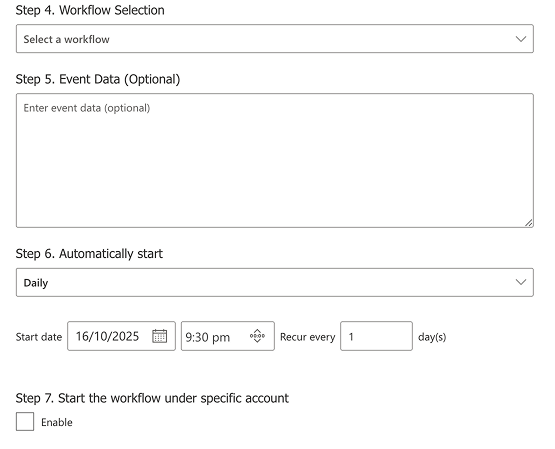
Set a time trigger and choose the start date and time. To run it on a schedule, configure the recurrence options. You can also run the workflow under a specific account—by default, it runs under the system account.
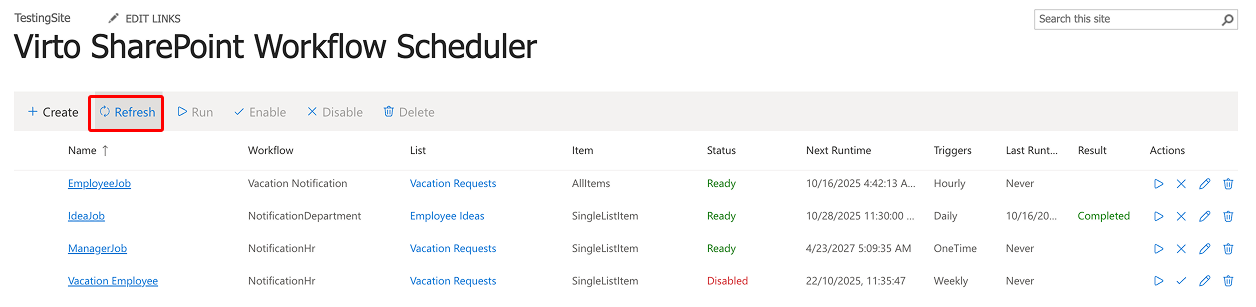
When the schedule is created, you will see it in the list of schedules on the Workflow Scheduler page.
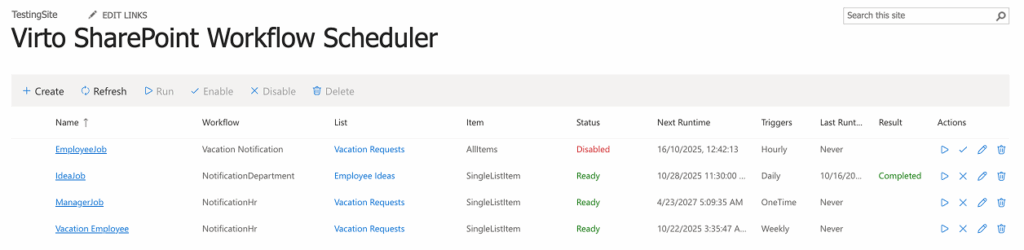
The following workflow details will be shown:
- Name(workflow schedule name);
- Workflow(selected from the list);
- List(source list and site);
- Item(items workflow will run for);
- Status(current state of the workflow);
- Next runtime(time when the workflow will be run);
- Triggers(type of schedule);
- Last Runtime(time of previous running);
- Result(the result of workflow);
- Actions (actions to perform).
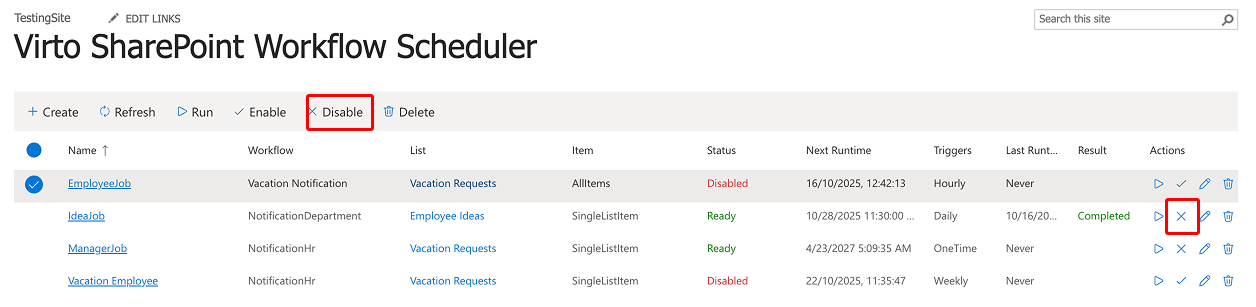
To disable a workflow schedule, select it, then click “Disable” or choose “×” in “Actions”.
You can enable, disable, and delete a workflow schedule by clicking the corresponding buttons.
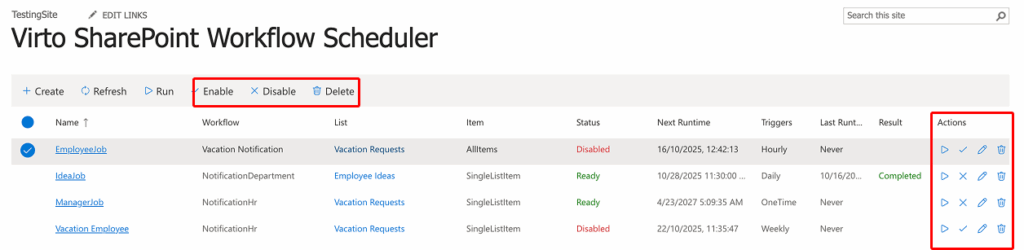
Use the “Refresh” button to refresh data.
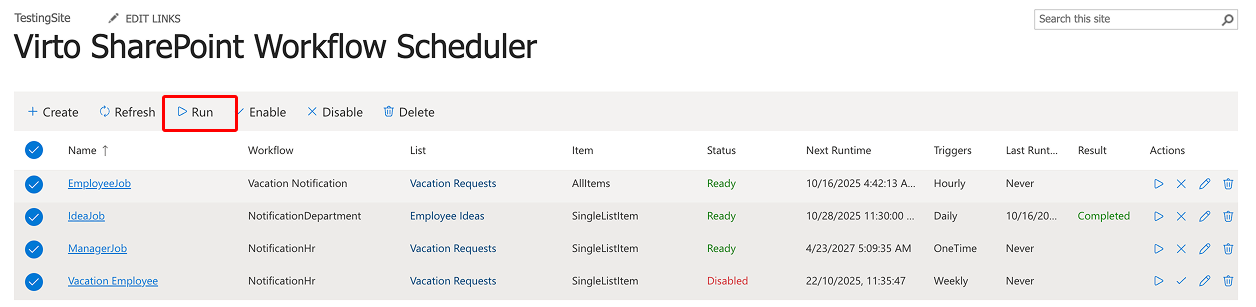
Select workflows and use the “Run” button to start several workflows manually.
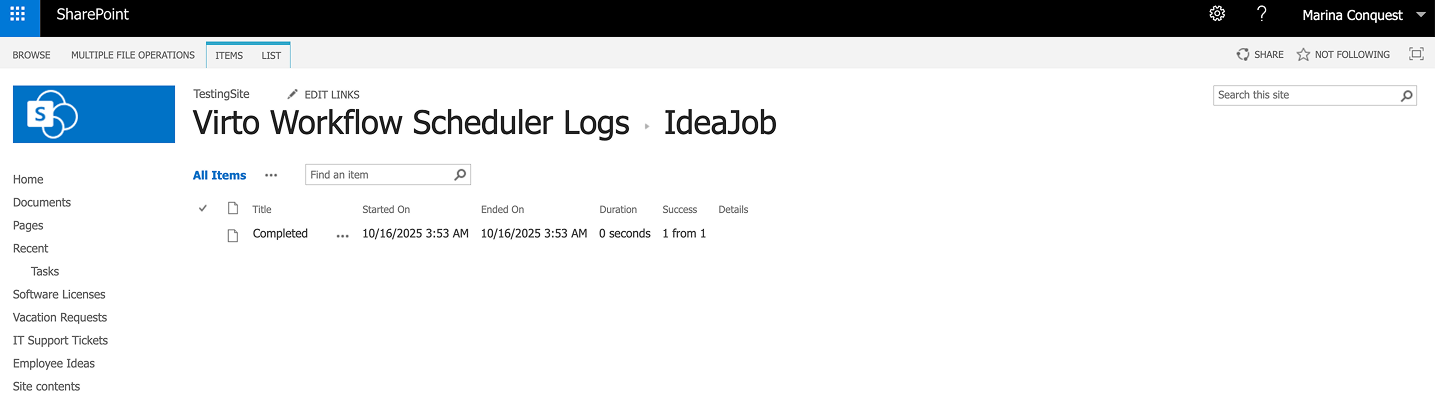
Click a workflow run’s “Result” status (e.g., “Completed”) to open its logs.
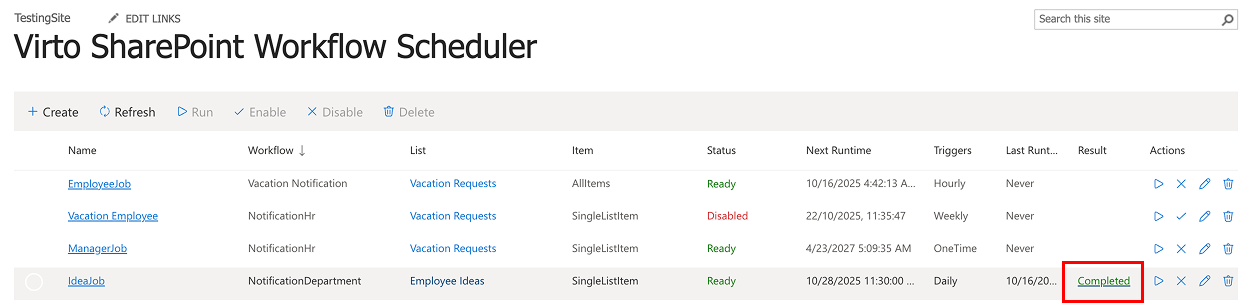
Here you can review the details and see all workflow logs.