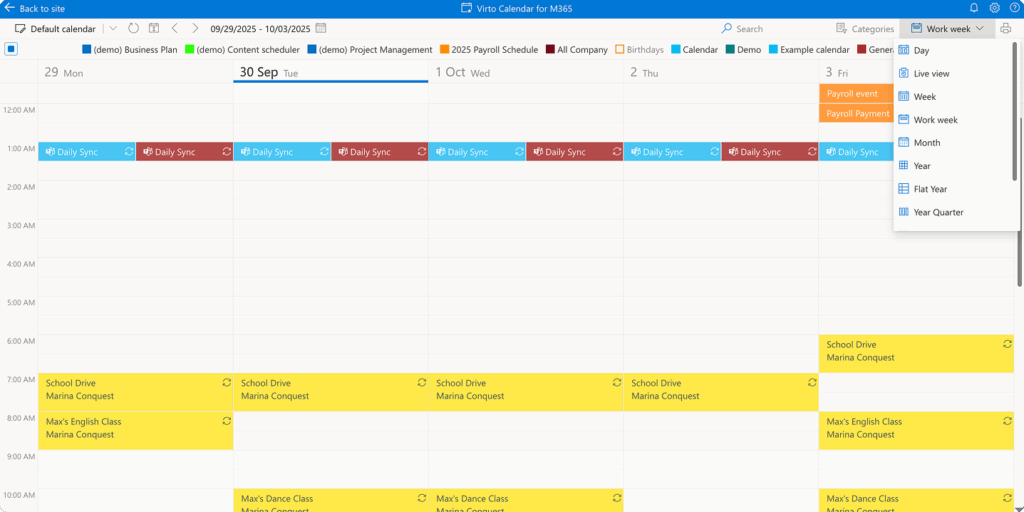
Virto Calendar App offers various types of event views: Day, Live View, Week, Work Week, Month, Year, Flat Year, Year Quarter, Task (days), Task (hours), and Multi Source. You can switch between these views within the calendar to change how the events are displayed.
Create an event
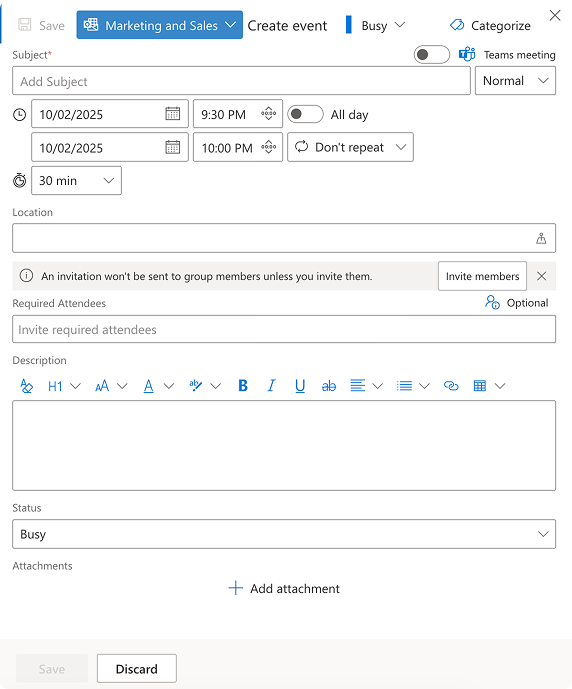
To create an event, open the appropriate view tab, such as “Month.” Use your mouse to select the desired time period for the event (by dragging and dropping) or simply click on the day. Enter the event name, choose the calendar and category, specify the start and end dates, and location, then click “Save.” You can also make the event recurring and add additional details such as attendees, a description, and attachments.
Change an event
You can change events’ duration by dragging their border or resizing them.
Year view does not support drag & drop. Resizing events is available in the Day, Week, and Work Week views.
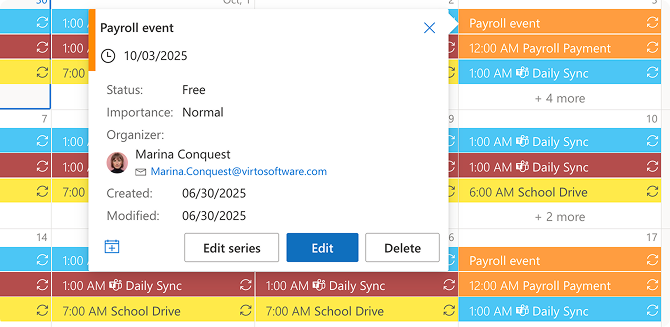
Click on the event, then click “Edit” in the tooltip to modify the event.
View an event
The panel on the top of the calendar contains a refresh button, navigation buttons, a search string, and dropdowns of categories and views.

If your calendar contains too many events, just start typing the title of the event you’re searching for and click “Search.” The calendar will filter events and display only the ones you need.

Show and hide data sources by clicking them.
