In the “Options” section, define when the alert will be sent. By defining conditions and times when alerts should be delivered, you can create a custom schedule for sending alerts. For instance, you can set alerts to be sent only when someone changes an item within working hours (9 a.m. to 6 p.m.).
First, decide whether you need to filter items before sending alerts.
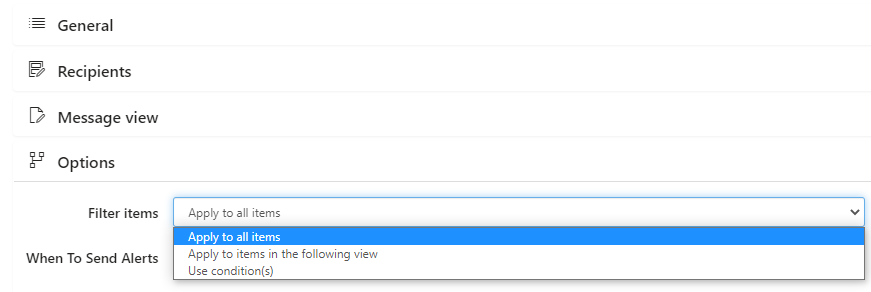
Choose “Use condition(s)” to create a custom condition for sending the alert.
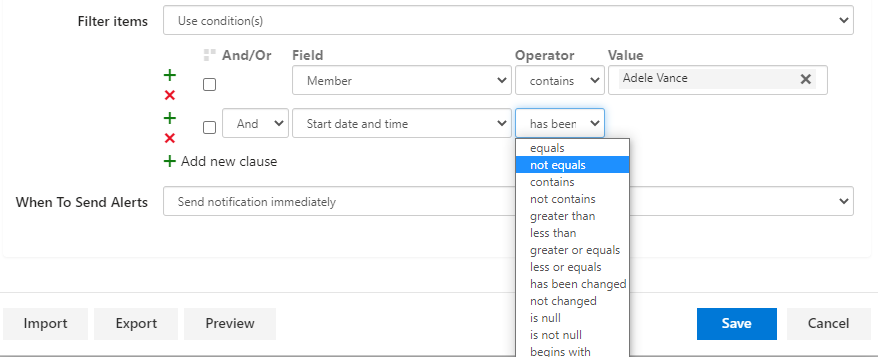
Click on “+” to add a new condition and “x” to delete a condition.
For example, to track changes in a specific list field, select “Use condition(s)” and choose the required field with the “has been changed” condition.
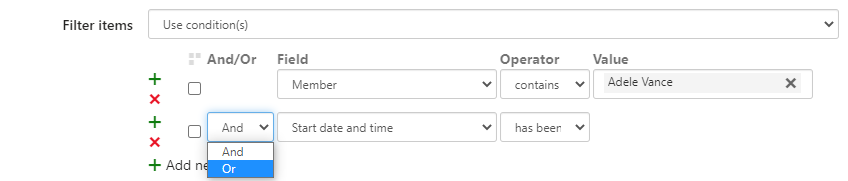
You can also combine conditions; use the “And/Or” operators to create a group.
Define when to send the alert. Alerts can be sent immediately after any changes or created as a daily or weekly summary schedule.

If you schedule any available summaries (daily, weekly, monthly, or hourly), select the desired time from the drop-down lists and choose, for example, the days you want to receive the summary.
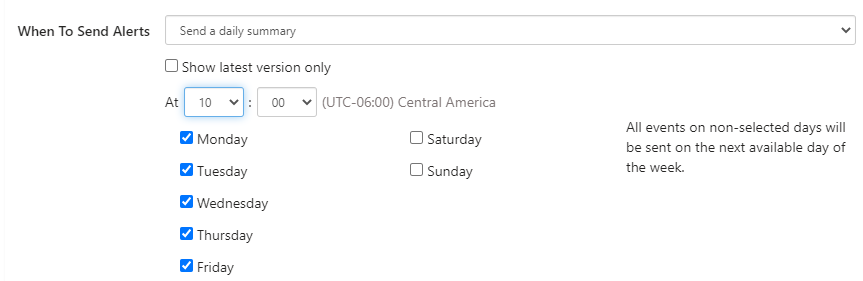
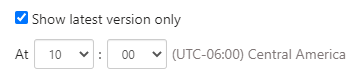
To receive only the latest status of a chosen field instead of details of all changes made since the last summary, tick the box “Show latest version only.”
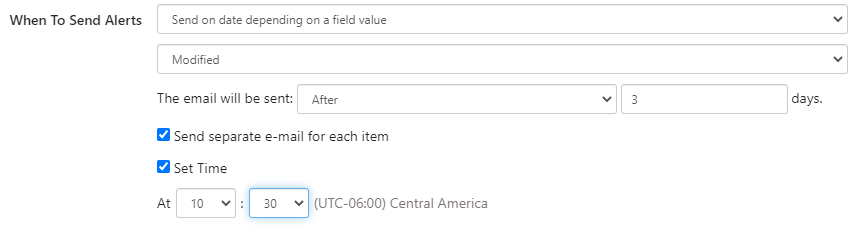
Select the “Send on date depending on a field value” option to apply special conditions for sending the alert based on a field value, such as sending an alert three days after the change. If necessary, tick the “Send separate e-mail for each item” checkbox. You can also set the exact time for sending the alert.
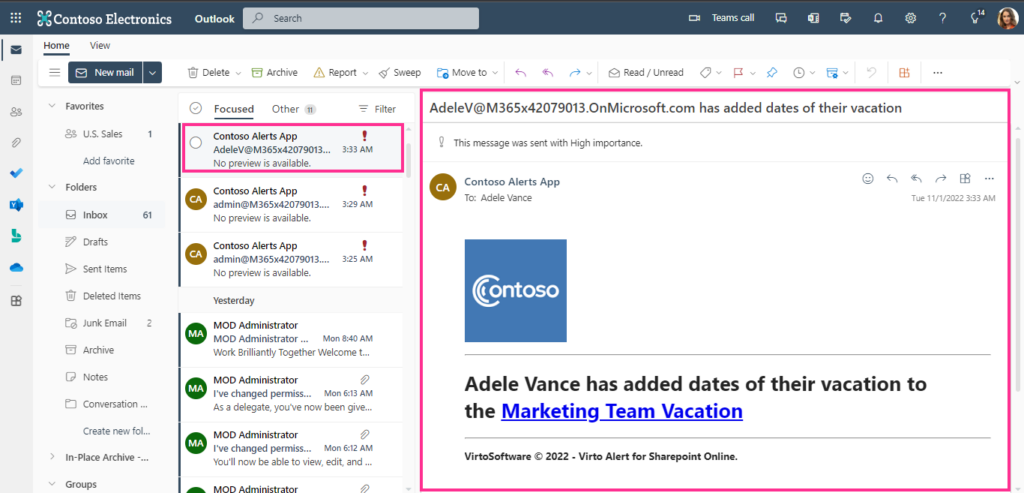
Finally, let us see how the resulting alert looks in Microsoft Outlook.