Virto Alerts & Reminders Web part supports adding clickable elements to the message.
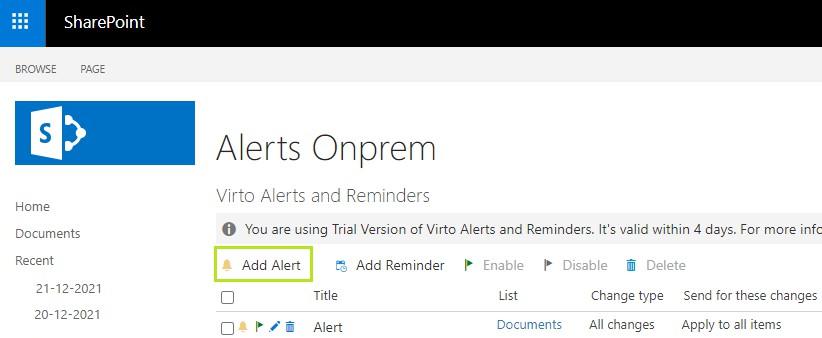
First, go to the SharePoint site page where you have added the Alerts web part and click “Add Alert“.

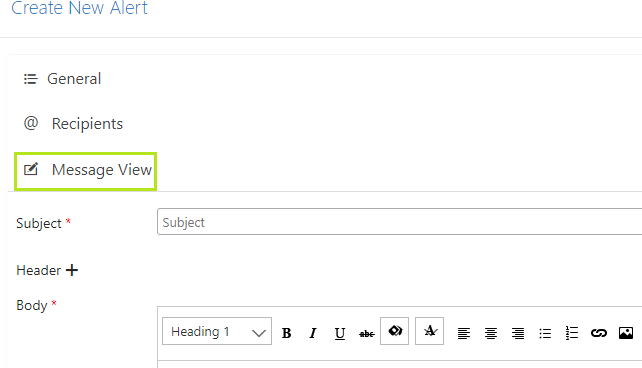
The “New alert” form appears. Adjust the alert as you usually do. Then find the “Message View” block next. This is where we’re going to add tags.

Now click the “Insert hyperlink” icon.

If previous versions allowed only the paste of hyperlinks to the message body, now you can see the enhanced functionality of hyperlinks with tags.

First, click “Add tag” next to the web address line. Here you can choose the option for the hyperlink. In our case, this is going to be an item link (for example, the URL of the new banner added to a SharePoint list). But there are many options. Use the one appropriate for your special case.

Second, click “Add tag” next to the text field.

There are also many options. We pick the item title (for example, we’d like to show the title of the marketing campaign to which this banner refers).

Finally, you can add a tooltip. Click “Add tag” next to the tooltip field.

Choose the element to display.

As a result, recipients receive the alert (or reminder, new tags also work for reminders) in their email client. The elements vary depending on the case. For example, you’re notifying your team about a new banner added to the List with monthly marketing campaign information. And you need to send a link to this new banner. You do not have to paste an image to the message manually every time. the system will change it automatically. New campaign —new banner — new alert.
