To find list settings in SharePoint On-Premises classic view, follow these steps:
- Navigate to the SharePoint list you want to modify.
- Look for the “List” tab in the ribbon at the top of the page.
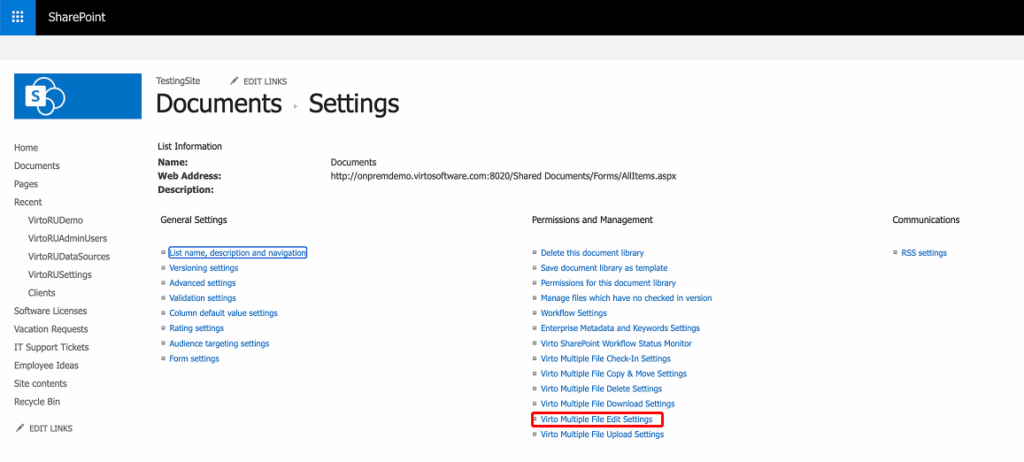
- Click on the “List Settings” button in the ribbon.
Find “Virto Multiple File Edit Settings” in the right column and click it.
General Settings
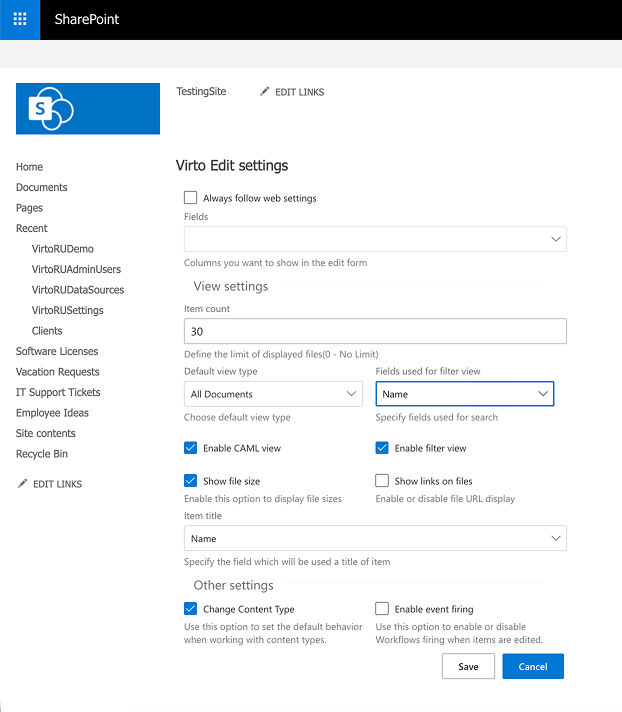
- Always follow web settings:
Enable this option to apply predefined web settings for all edits. When checked, individual settings cannot override web-level configurations. - Fields:
Select the columns you want to display in the edit form. Use the dropdown menu to choose from available fields, such as “Name” or “Title.”
View Settings
- Item Count:
Define the maximum number of files displayed in the bulk edit interface (e.g.,33). Set0for no limit. - Default View Type:
Choose the default view type for displaying items during bulk editing. Options include:- Tree View: Displays items hierarchically.
- Other available views (depending on configuration).
- Fields Used for Filter View:
Specify fields that can be used for filtering views during bulk editing, such as “Name.” - Enable CAML View:
Activate this option to use CAML queries for advanced filtering and data retrieval. - Enable Filter View:
Enable this option to allow users to filter items based on specific field values. - Show File Size:
Check this option to display file sizes in the bulk edit interface. - Item’s Title:
Specify which field will be used as the title of an item (e.g., “Name”).
Other Settings:
- Change Content Type:
Use this option to set the default behavior when working with content types during bulk editing. - Enable Event Firing:
Enable or disable workflow firing when items are edited in bulk. When enabled, workflows associated with edited items will trigger automatically.