Working with Check out
Choose the files you want to check out by clicking the checkmark. Then, click the “Check in/Out” button on the ribbon.
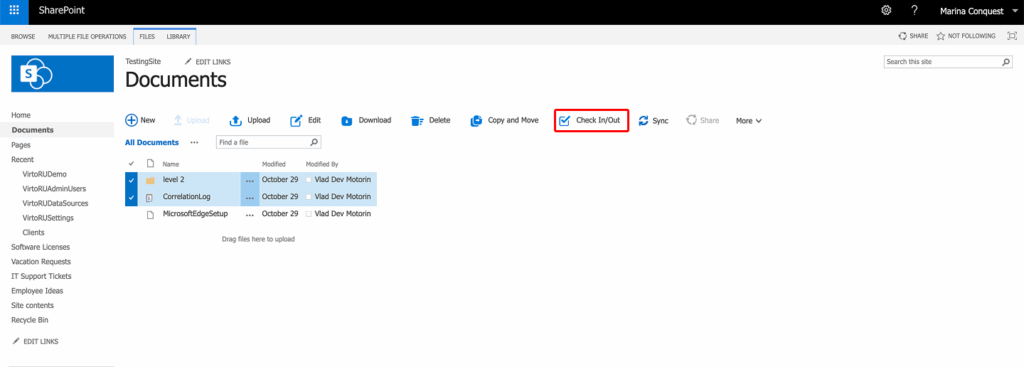
In the window that opens, select “Check Out” and confirm the action

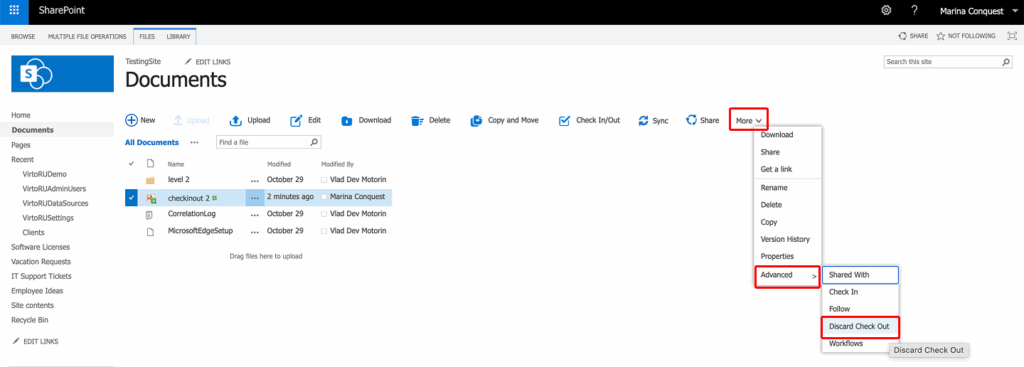
If you want to discard the checkout, navigate to the fine you’ve discarded, tick the box to select it, and click “More” -> “Advanced” -> “Discard Check Out”.
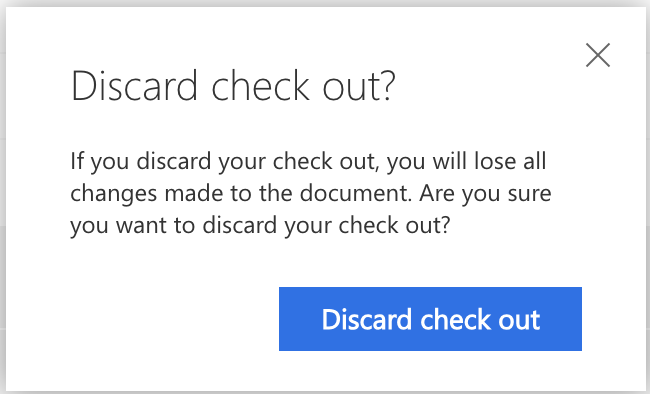
A window will appear asking you to approve or decline the operation. Click the button to proceed with discarding the check out, or click “X” to cancel the operation.
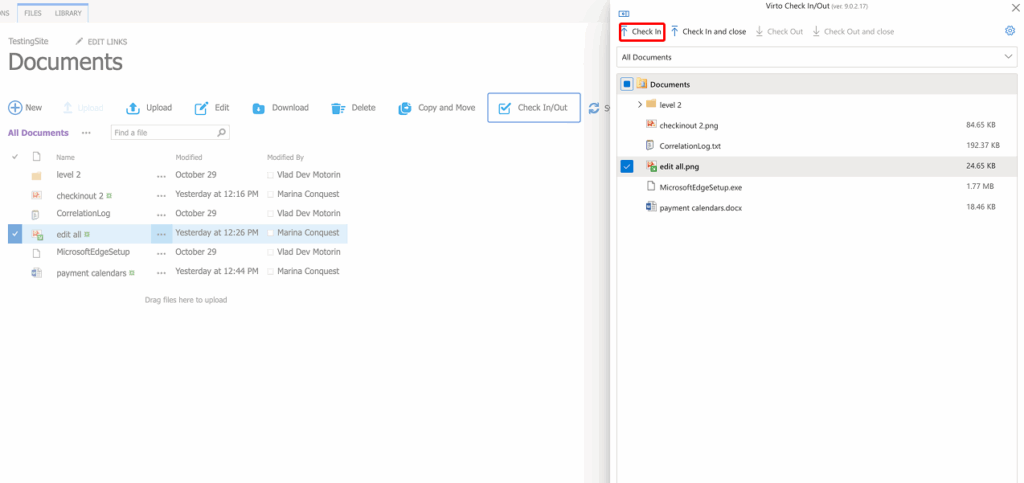
Working with Check In
To check in a document quickly, click the three dots on the ribbon and find the corresponding option. Click it.
After you confirm the check-in in the confirmation window, the log shows the completed operation.

If comments are required, click “Check In” on the main ribbon, add a brief note describing the changes in this version, then click “OK”.

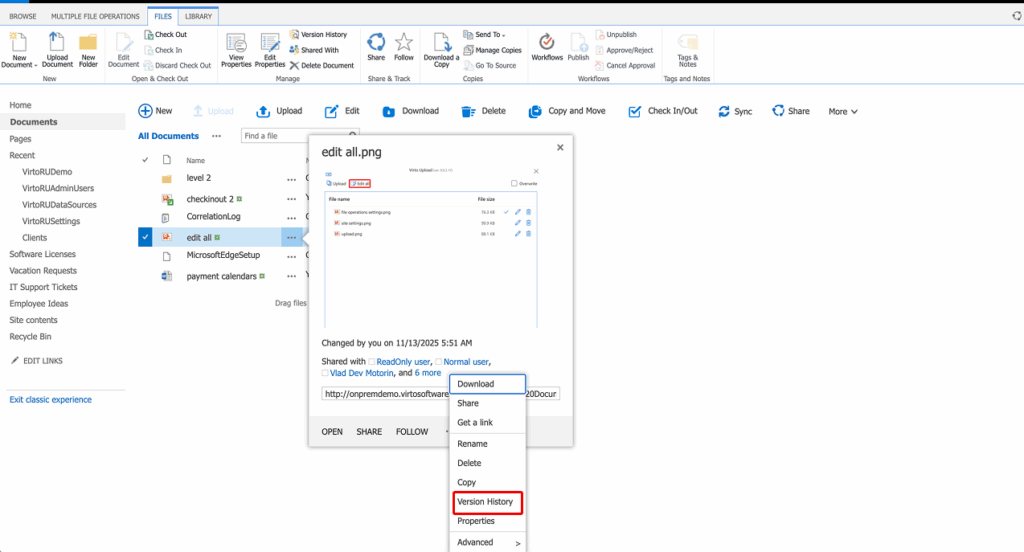
To view the version history, click the three dots next to the document and select “Version History”.
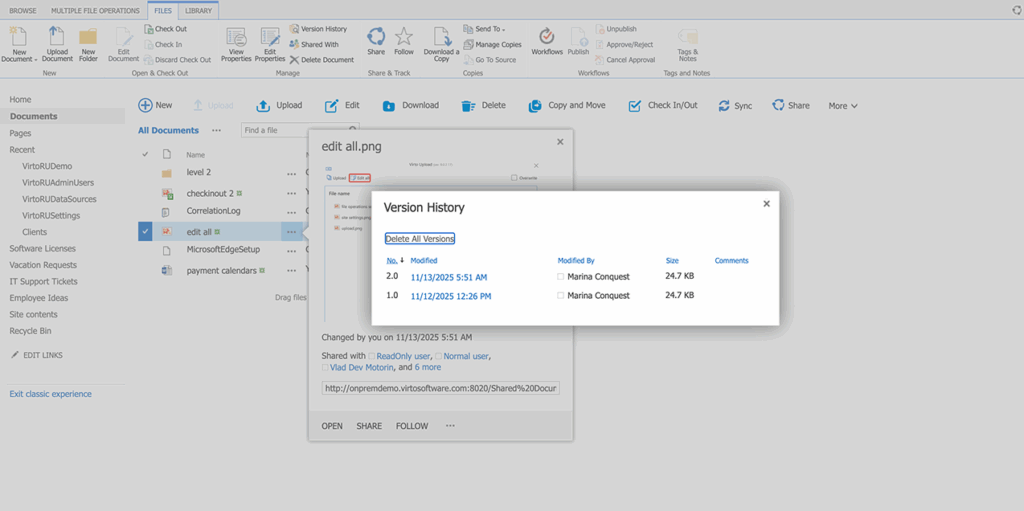
You can now see all the information about the changes made to the selected document.
To set up document versioning, please refer to Microsoft’s instructions for detailed guidance on configuring versioning settings in SharePoint.