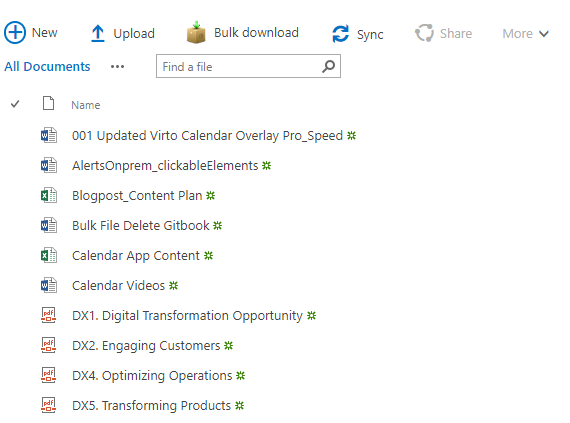
Bulk File Upload by Virto allows users to easily upload multiple files to a document library, manage the upload process, and view the files they are working with.
When you have installed and activated Bulk File Upload, you can use it as either a web part on a SharePoint site page or an additional feature in the “Upload” section on the ribbon.
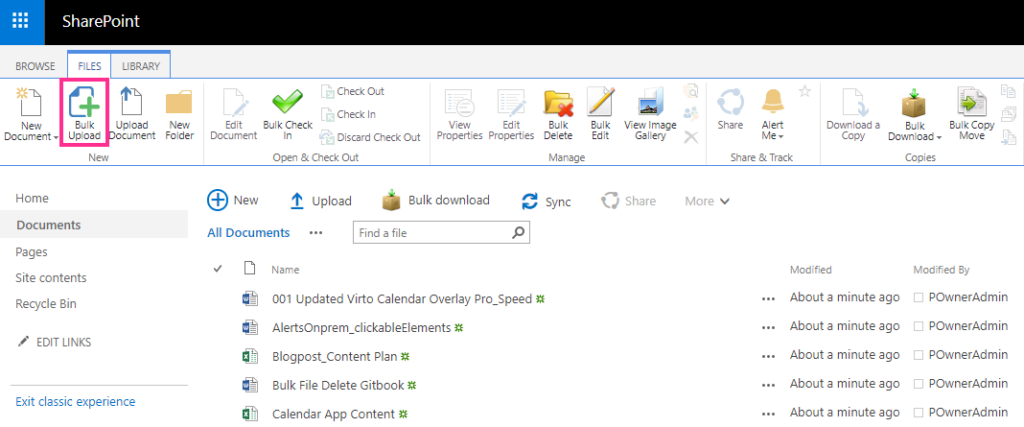
Go to any document library on your SharePoint site. When Bulk File Upload is installed, you will see the “Bulk Upload” button on the ribbon. Use this button to upload files.
Drag and drop files from the disc (from the file manager or Total Commander).
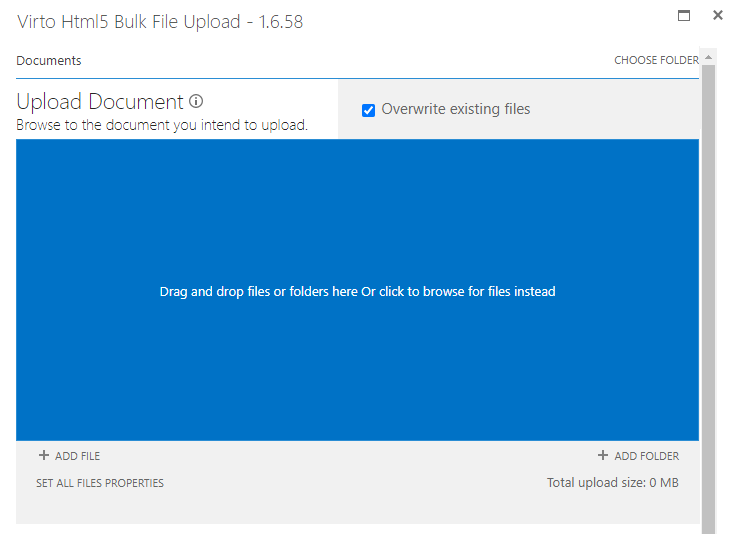
You can use double-click and drag and drop to add files to upload. For example, double-click files to add them and then drag and drop one more file from the Total Commander window.
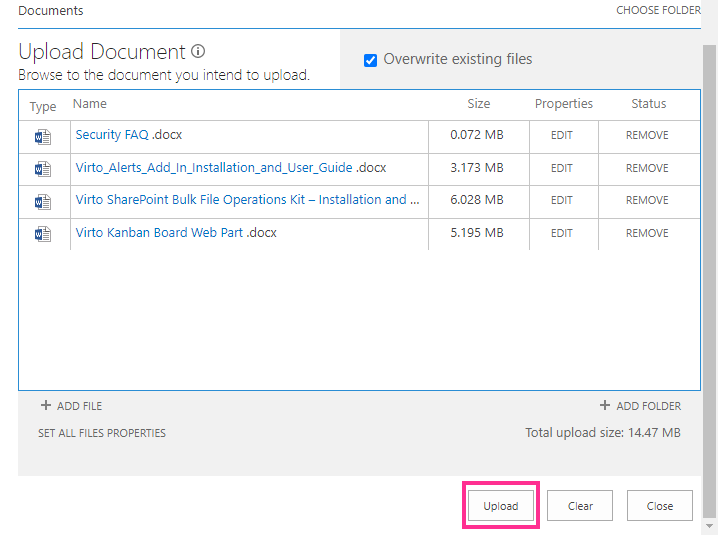
You can remove files from the upload list before uploading. Just click “Remove” next to the file you want to delete from the list.
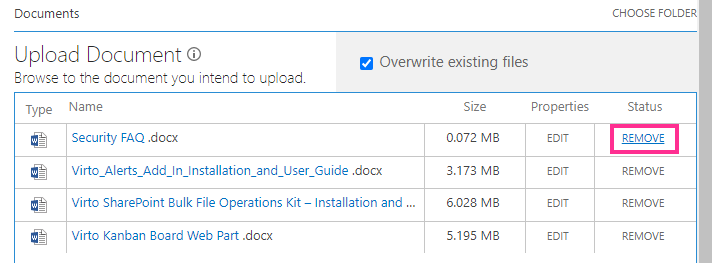
When the file list is ready, click “Upload.”
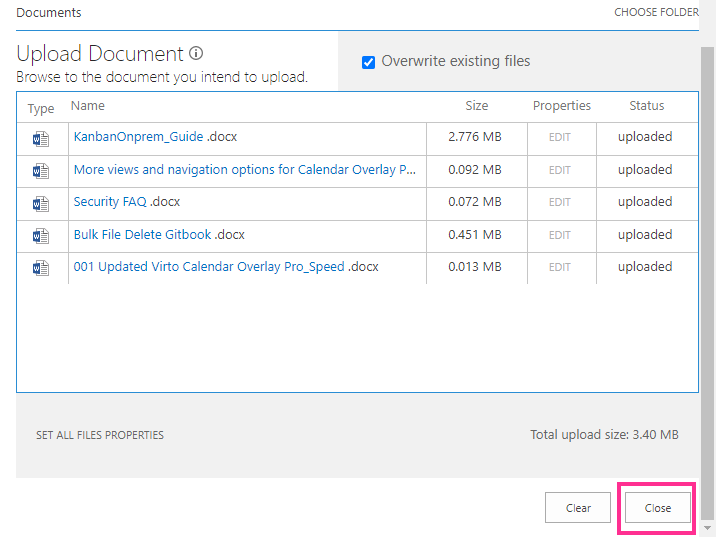
Check that the “Uploaded” status appears next to all the files, and click “Close.”
You will see the uploaded files in the document library.
