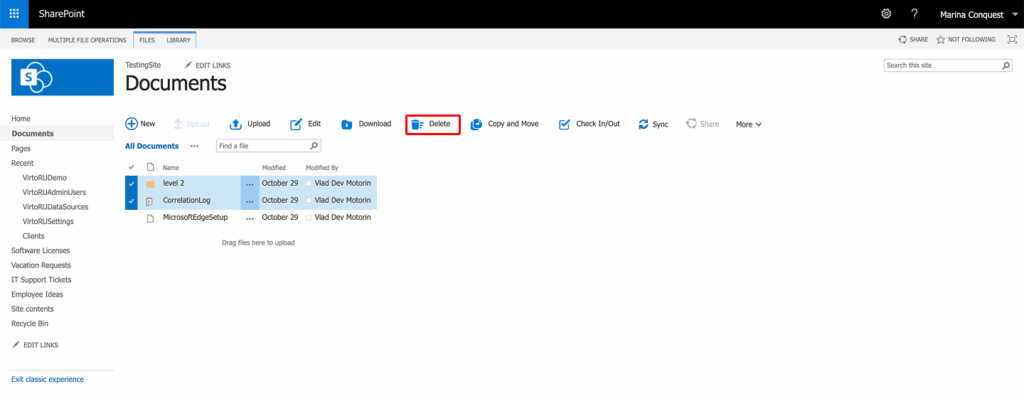
Choose the files you want to delete by hovering over them and clicking the checkmark. Then, click the “Delete” icon on the upper menu.
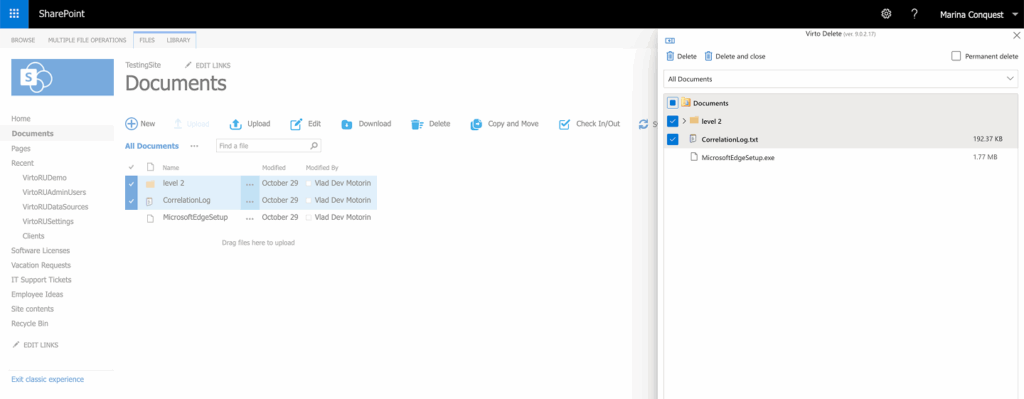
When the Delete window appears over your document library, review your selections and click “Delete” in the upper-left.
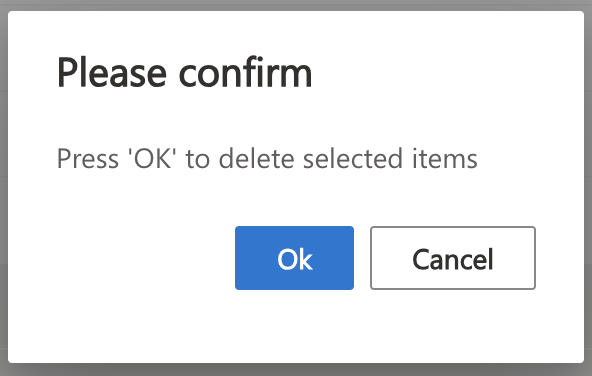
A confirmation window will appear. Click “OK” to confirm the deletion.
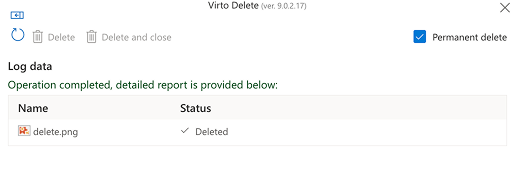
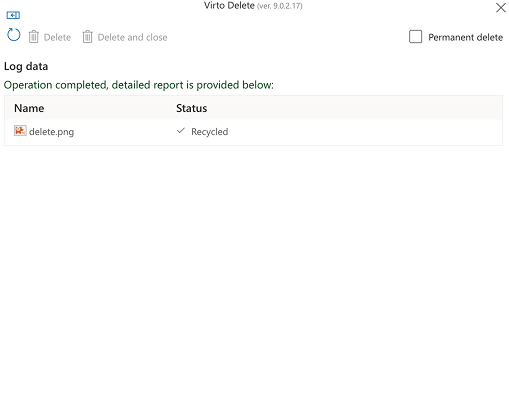
You will see the log data for the deleted files.
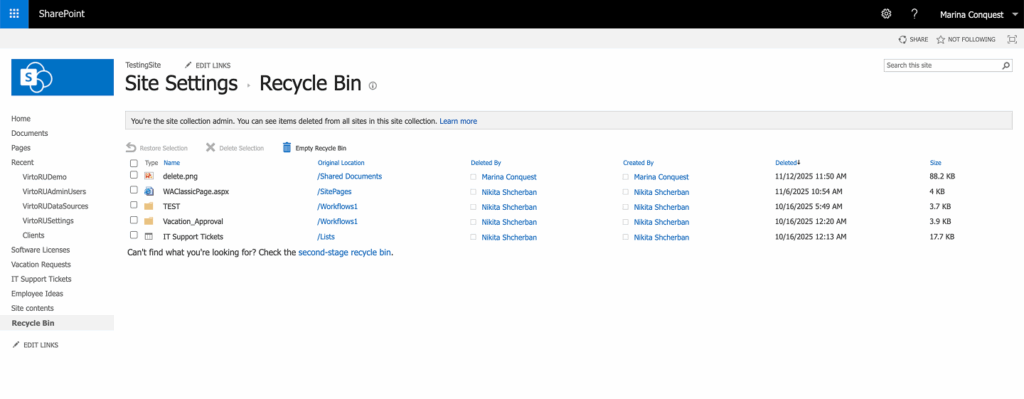
The files you’ve deleted can be found in the Recycle Bin. Simply click “Recycle Bin” in the left-hand menu.
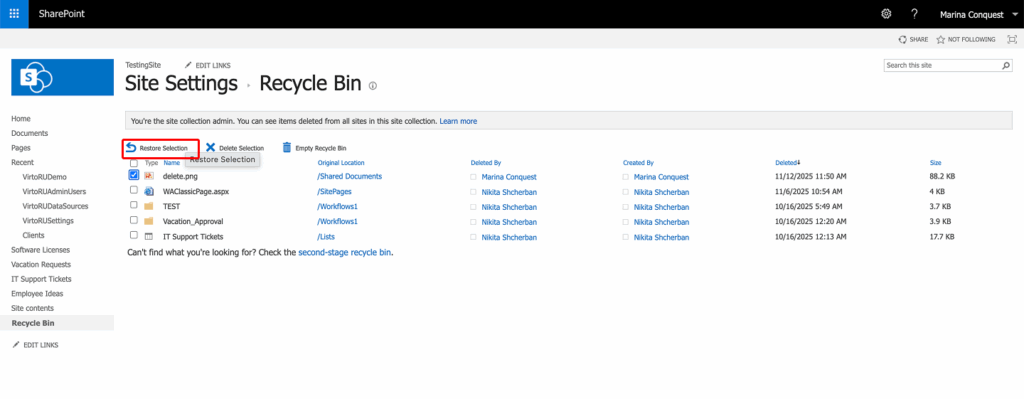
If you want to restore deleted files, tick these items, then choose “Restore Selection” on the ribbon.
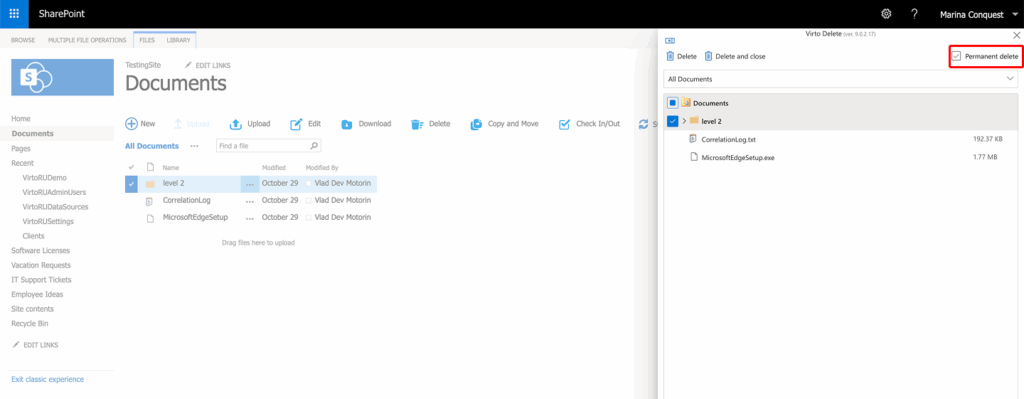
If you’d like to permanently delete items, check the “Permanent delete” box in the upper right corner of the Delete window.
After the items are permanently deleted, you will see a report of the deleted files.