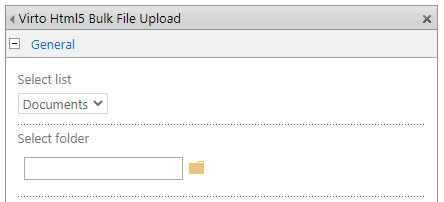
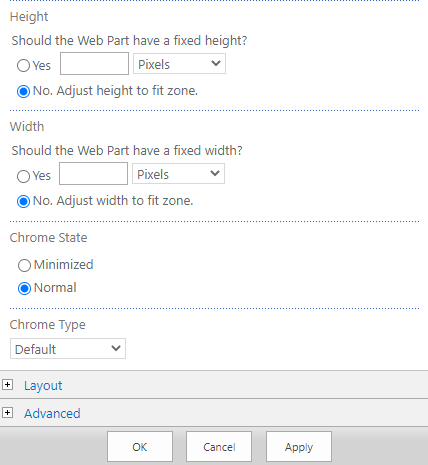
When the web part is added to your SharePoint site page, in “Edit” mode, choose “Edit Web Part” to adjust the Bulk File Upload settings.

Select the document library or SharePoint list where you want to upload files. If you need to save files to a specific folder, click the folder icon next to the “Select folder” field.

Define other settings as described in the Upload settings section and click “OK” or “Apply” to save the changes. Now when you upload files using the web part, uploaded files will be automatically saved to the predefined document library or folder.
