Go to the page where the Virto Alerts & Reminder App is installed on your SharePoint site. If you do not know where to find it, ask your tenant admin for a direct link to the app. Then, click the “Add Alert” button.

Step 1: General information
Fill in the first part of the alert form—general information.
1) Choose a list or document library from the drop-down menu. Ensure you know the exact name of the list or library for which you want to create an alert. The drop-down menu will display all lists and document libraries you can access.
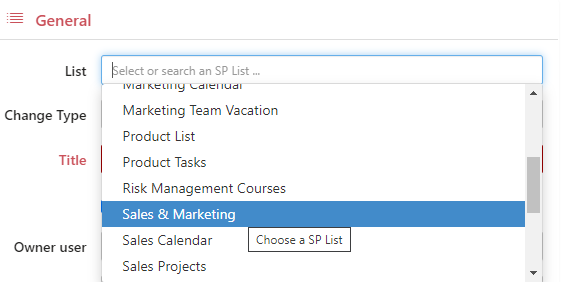
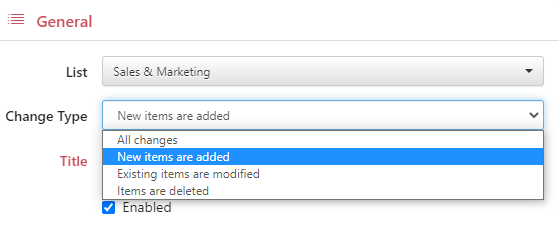
2) Select a change type. You can create an alert for all changes made to the list or only about new, modified, or deleted items. For example, if you want to inform someone of new tasks in the “Sales & Marketing” list, choose “New items are added.”
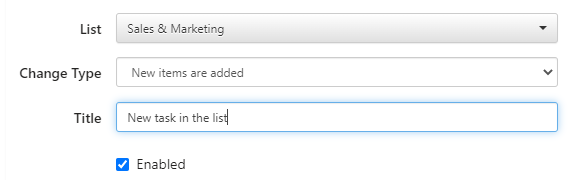
3) Specify the title. This is how your alert will be displayed in the list of all alerts.
The alert owner is the user who can edit the alert. By default, you are the owner of the alerts you create.

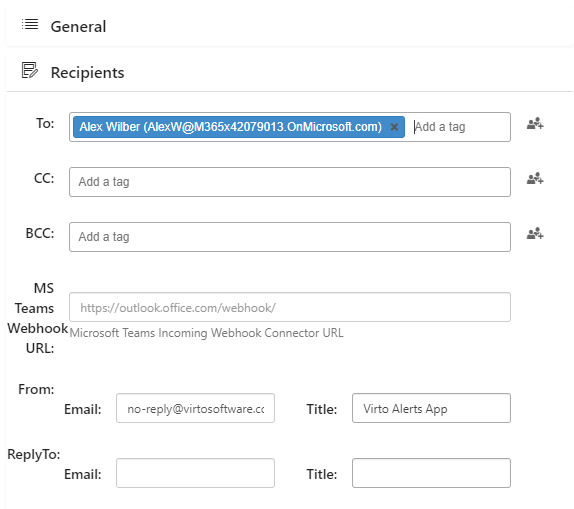
Step 2: Recipients
Recipients are users or groups who will receive this alert. Start typing a user’s name or email to add them to the list of recipients.
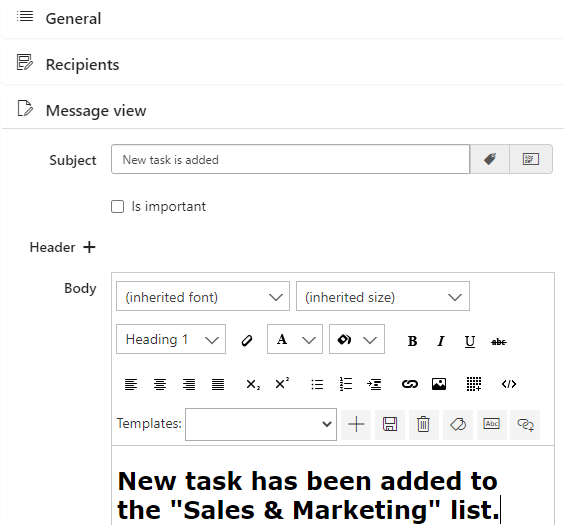
Step 3: Message view
Now, define what will be in your alert message. Add the subject (the email subject displayed in the recipient’s email client) and type the text of the message body.
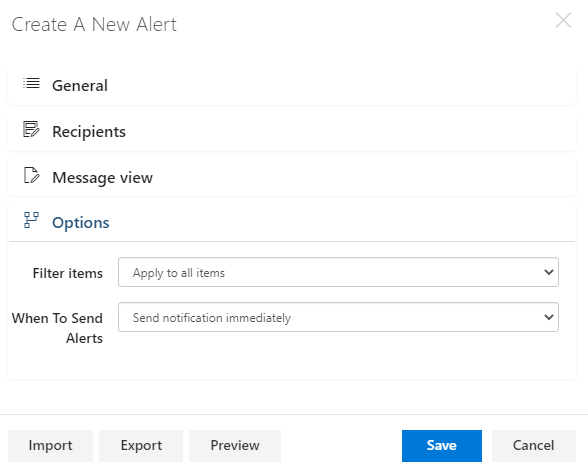
Step 4: options
Finally, decide when you want to send this alert. For example, if you choose “Send notification immediately,” the alert will be sent immediately after adding any new task to the chosen list. Remember to click “Save.”
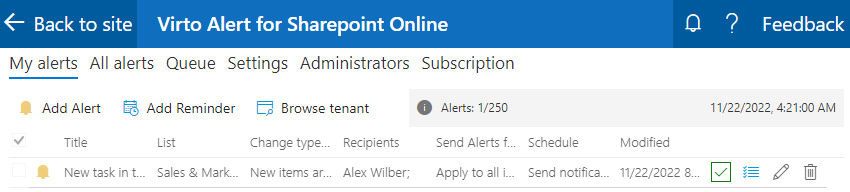
Your first alert will appear in the “My alerts” list.
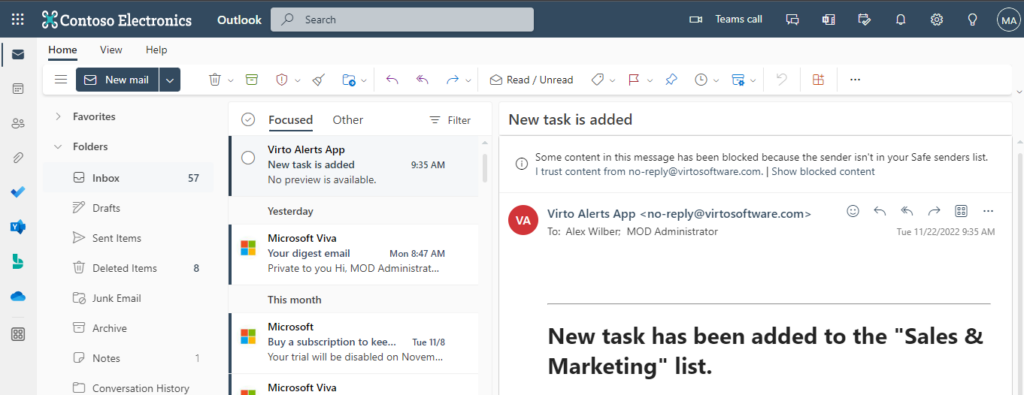
When a new task is added to the list, the recipients will receive an email alert.
You can apply more handy functions to your alerts. For more advanced options, please see “Configuration and usage.”